Distressing furniture is a process through which you can make a piece of furniture look aged, giving it a weathered or antique look. Distressed furniture fits perfectly with the popular shabby-chic and farmhouse aesthetic but can also look good with other types of décor. Distressing furniture changes its finish using things like paint, paint stripper, and sandpaper. It’s surprisingly easy to distress furniture as a DIY project, making owning these pieces accessible to most people.
We’ve broken down the steps to distress your furniture and chalk paint it below. Let us know how your project goes in the comments below!
Distressing Unpainted Wood Furniture
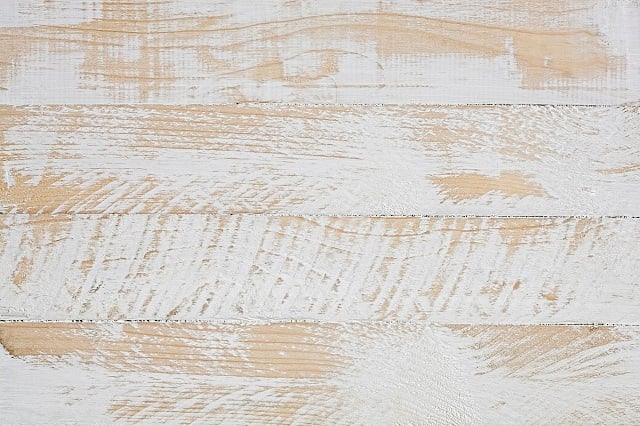
Some people opt to buy already distressed furniture, but with a few materials, some time, and just a little skill, you can turn a modern table, dresser, or sideboard into a vintage-looking masterpiece.
Materials You’ll Need:
- Paint
- Sandpaper
- Candle
- Tag
- Steel wool
- Paintbrush
- Stain
- Drop cloths
- Polyurethane
- Stain
Step 1: Preparation
Lay a drop cloth on the floor underneath the piece and remove the hardware on the piece you want to distress before painting it.
Then, using sandpaper, lightly go over the furniture to roughen up the finish. Remember to wipe the furniture down when you’re done so that it’s dust-free.
Step 2: Painting
Do you want to use two layers of paint or just one? If you use two colors, the bottom layer will show through when you start distressing the piece. If you use one layer, the distressing will reveal the wood below. Once you’ve decided this, apply your paint, letting it dry thoroughly.
If you’re using two layers, apply wax to areas where you want the bottom layer of paint to show through on the finished piece. This will help keep the second color from sticking to those spots, making it easier to remove later. Then, apply your second color and let it dry.
Step 3: Distressing the Wood
Using sandpaper and steel wool, scrub away some of the paint until you can see either the bottom layer of paint or the wood below. The sandpaper will remove more paint at once, while the steel wool is gentler, making it better for use on two-layer paint jobs. For the most natural-looking effect, focus on areas where natural wear would be most likely to occur, like edges and corners.
Step 4: Staining
If you are going for an antique look, use an antiquing glaze. Then, apply polyurethane to protect your new finish. Once it’s dry, you can re-attach the hardware.
Distressing Furniture with Chalk Paint

Materials You’ll Need
- Sandpaper
- Oil soap
- Clear, soft wax
- Paintbrush
- Rags
- Chalk Paint
- Wax paintbrush
- Vacuum
- Oil soap
- Painter’s tape
Step 1: Preparation
Ensure that the work area is well-ventilated to avoid inhaling the fumes. Clean the piece of furniture that you wish to distress and sand any uneven areas. Remove the hardware, shelves, and drawers. Then, use warm, soapy water to make sure that the piece is completely clean.
Step 2: Applying Chalk Paint
Select your preferred paint color and paint the piece of furniture one section at a time. It’s likely that you’ll be able to see through the first coat once it dries; that’s normal. If you like this aged look, stop here; otherwise, apply another coat.
Step 3: Distressing the Wood
Use sandpaper to distress the piece, starting by sanding lightly and continuing until you like the look of the results. You can even use a disc sander if you’d like; this will create circular grooves in the paint.
Step 4: Applying Wax
Apply soft wax to the entire piece to seal in the color. Let it harden for a day before putting the hardware back on.
Easy enough, right? If you ran into any issues or feel like your skills aren’t up to the task, call a furniture painter near you for an instantly distressed, zero-effort aesthetic.
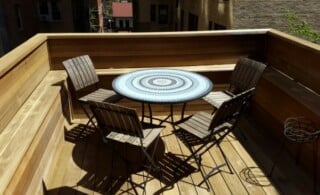 Building a Mosaic Table
  Dining Room Sets
  You Can’t Go Wrong with Antique Bedroom Furniture
  Outdoor Wood Furniture
  To Fix Furniture or Not?

Are You Familiar With This Topic? Share Your Experience.