Overview
Middle school and high school do a wonderful job of providing students the educational experiences they need to be successful in college and beyond. But often the subjects taught in today’s schools, don’t prepare students for the ins and outs of living on their own.
When students become fix-it literate, they’ll have the skills and capability to handle common home repair projects on their own.
This educator’s guide provides how-to articles, videos, and other resources to aid educators in teaching teens about tools, common home repair projects, and the fix-it vocabulary that will benefit them in adulthood. Tinstahat said, we recognize that people of all ages might find this guide useful.
Table of Contents
- Lesson One – Fix-It Tool Essentials
- Lesson Two – Fix-It Vocabulary
- Lesson Three – Fix-It Projects
a) Appliances
b) Bathroom
c) Doors and Windows
d) Exterior
e) Flooring
f) Plumbing
g) Walls
h) Woodwork - Lesson Four – Quick “Fix-Its” for Renters
Lesson One – Fix-It Tool Essentials
In this lesson, educators are provided with resources for teaching students about common tools and how to use them safely:
Tool Tips for Getting Started
Learn to ID tools. This worksheet with photos and definitions can be used by educators to provide students with an overview of what different tools look like and how they’re used.
Know how to properly maintain tools. Students will learn how to properly store and care for their hand tools in this brief, easy-to-read article from TractorSupply.com.
Take the tools quiz. Educators can test their students’ tool knowledge with “The Ultimate Must Tools for a Builder’s Toolbox Quiz” from HowStuffWorks.com.
Essential Tools for Every Toolbox
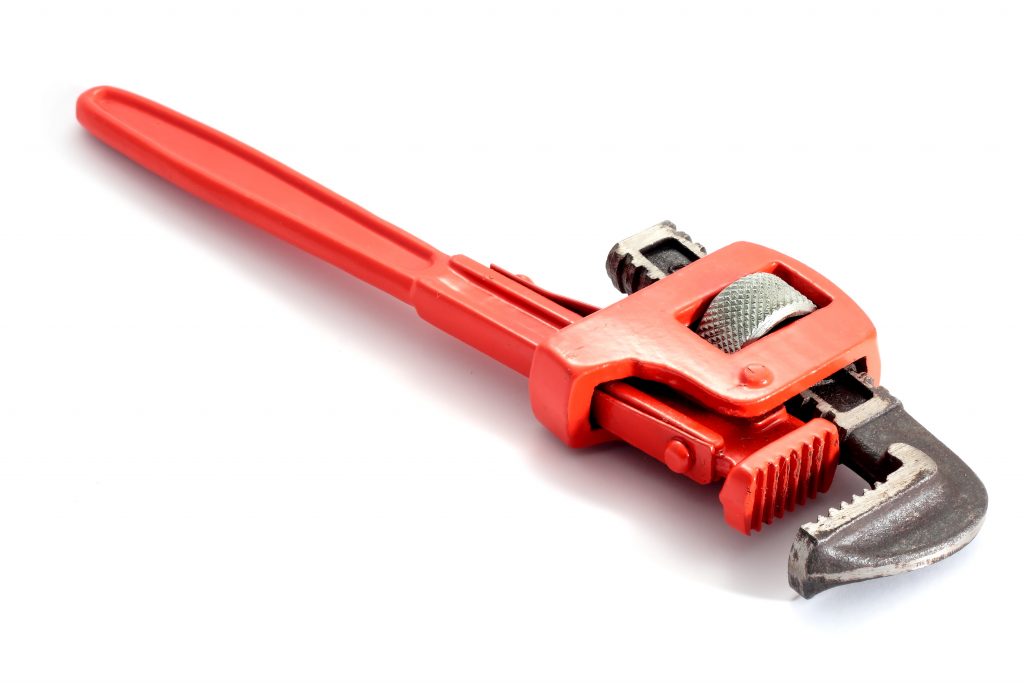
Wrenches, as this article from ArtofManliness.com explains, are used to “tighten and loosen nuts, bolts, screws, and pipes.” The article provides several tips that students can use to learn how to properly use a wrench, including “select the right wrench size for the job” and “don’t hit a wrench with a hammer.”
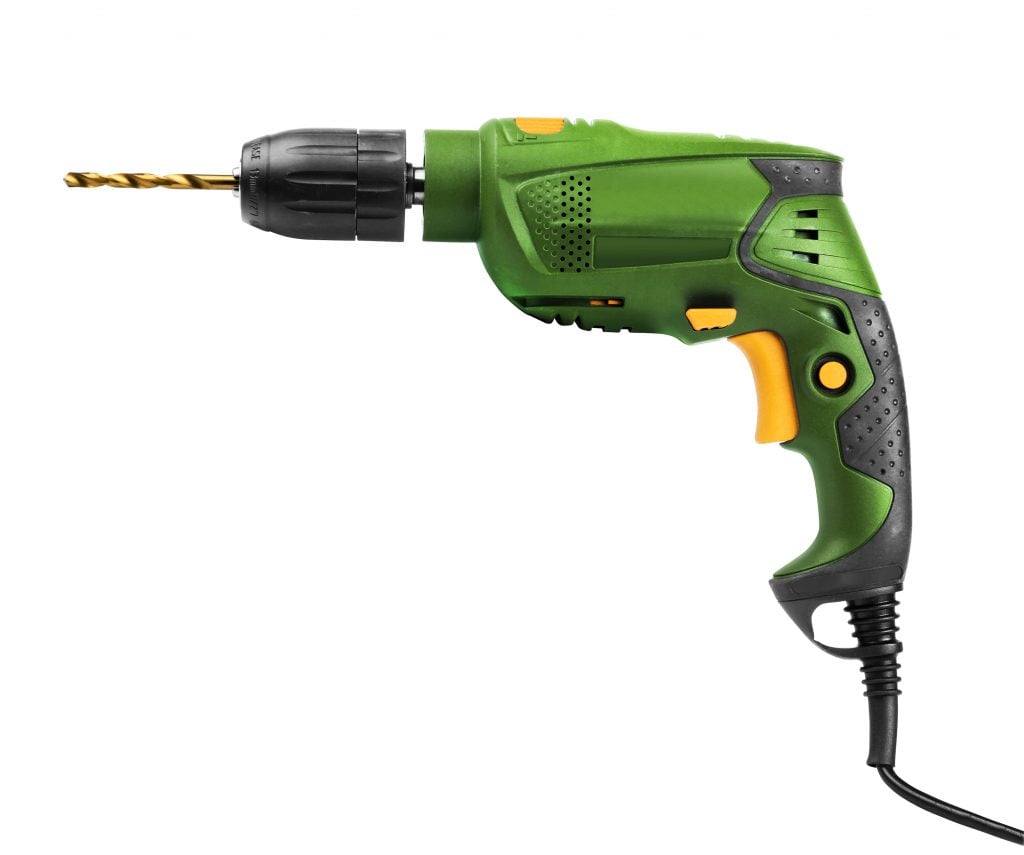
Drills are used to create holes and can also be used to insert or remove screws and other fasteners, but as this WikiHow.com piece notes they can be dangerous if not used properly. It provides seven essential safety tips for drill use. For example, before drilling check for “electricity cables running through the wall” and “never wear loose clothing or hanging jewelry which could catch in the drill.”
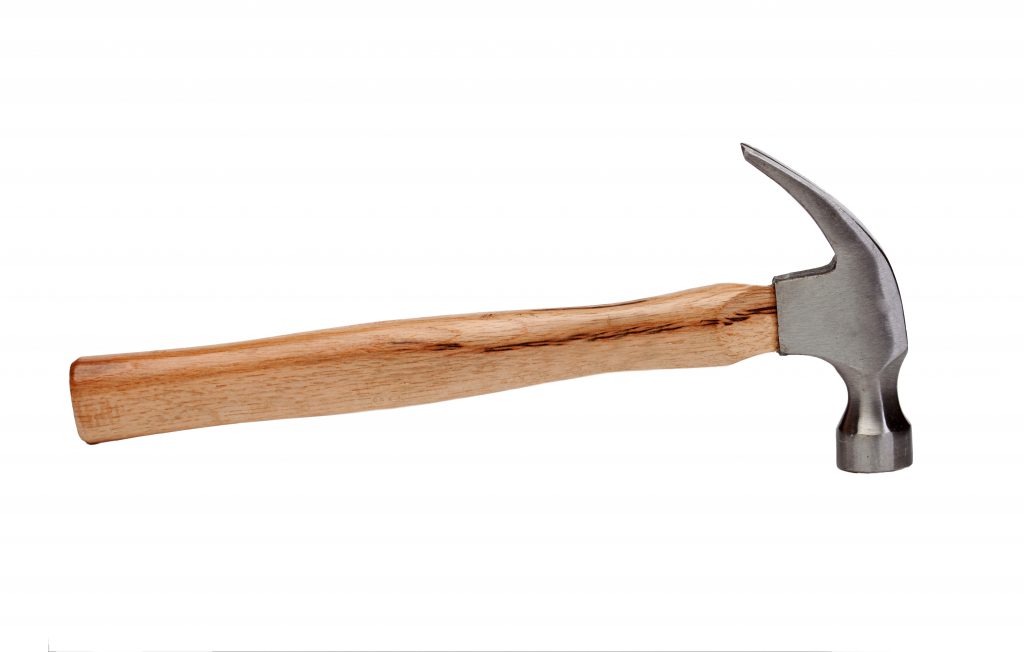
Most people know what a hammer is, but according to this how-to worksheet from Accurate Building Inspectors, few know how to properly use a hammer. It provides instructions and diagrams so that students can learn how to hammer in and remove a nail.
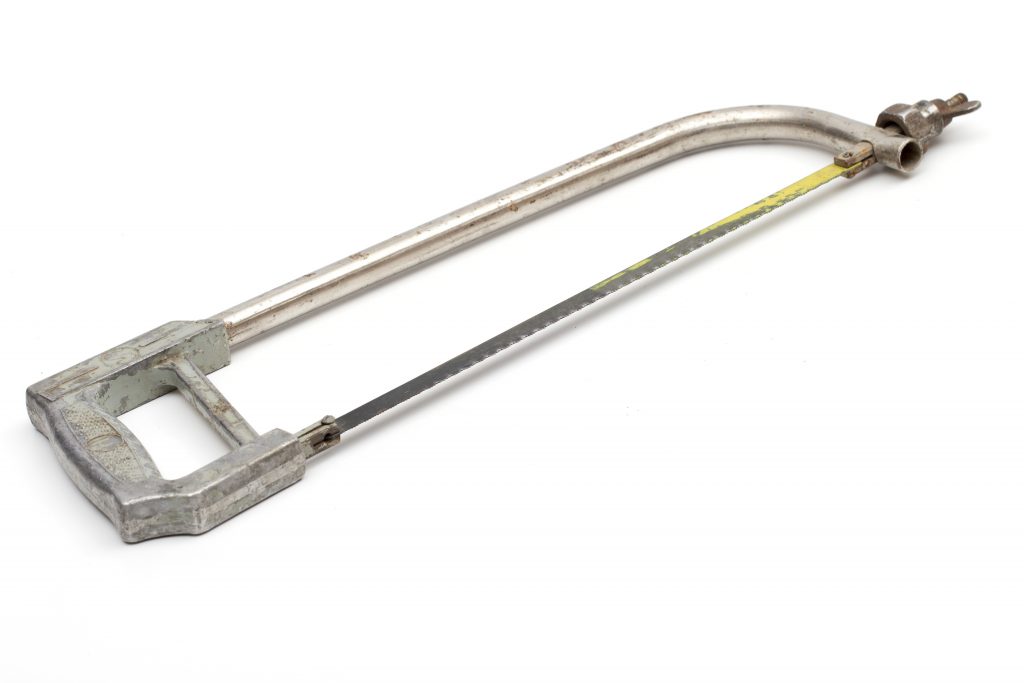
In this how-to video from Expert Village, students can watch and learn how to safely use a handsaw.

Students can learn how to use a level for a variety of different projects and for short, medium, and long distances with this article from eHow.
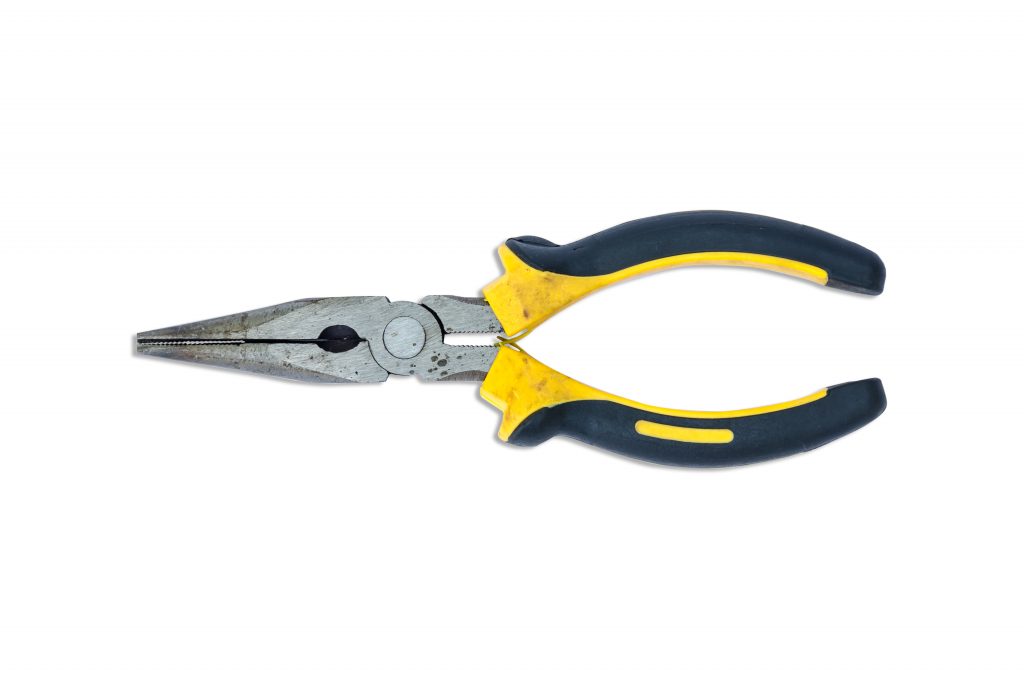 As this overview on plier use from ReliablePlant.com notes, they are a versatile tool. It explains the different types of pliers and provides tips for their use.
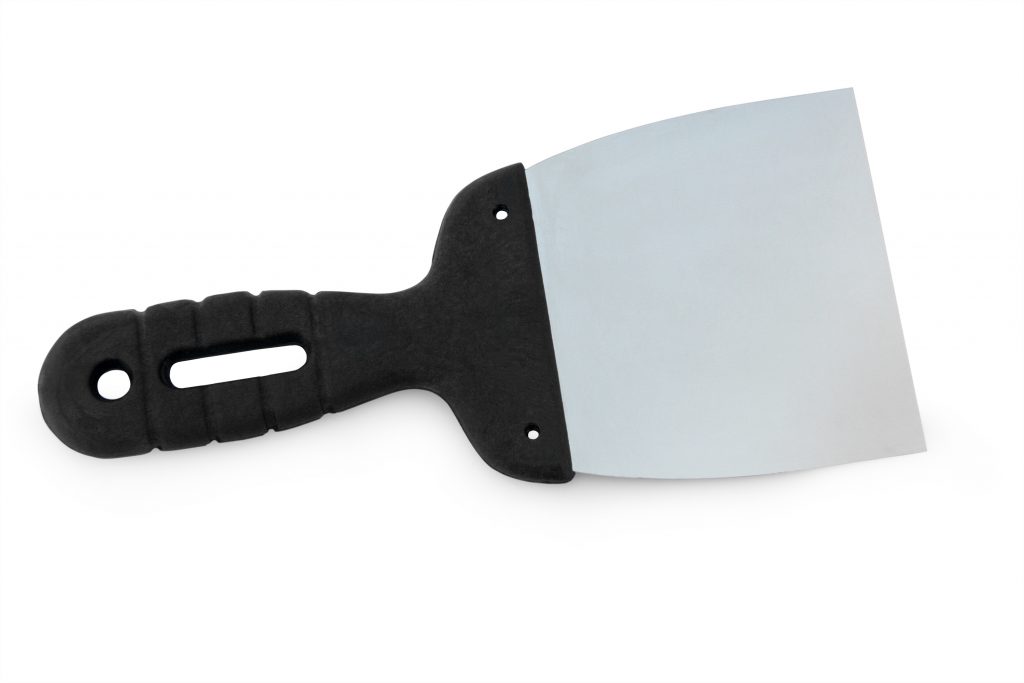
A putty knife allows you to apply putty to various surface types and holes. Students can learn how to use a putty knife to apply putty on windows in this guide from SFGate Home Guides.
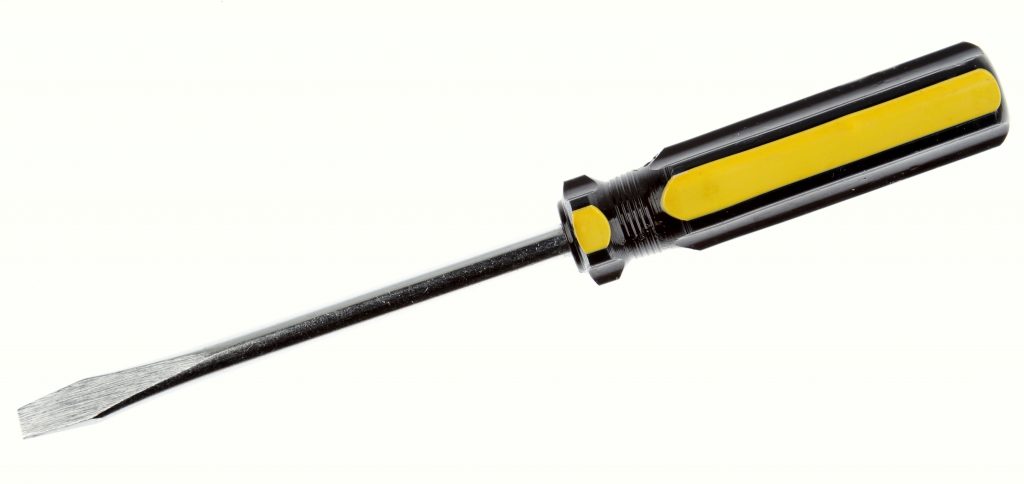
Screwdrivers are used to insert and remove screws, but they aren’t as simple a tool as some might think. Students can get more familiar with screwdrivers via an article on what to look for in a quality screwdriver, a video on how to use a slotted or flathead screwdriver, and a video on how to use a Phillips-head screwdriver.
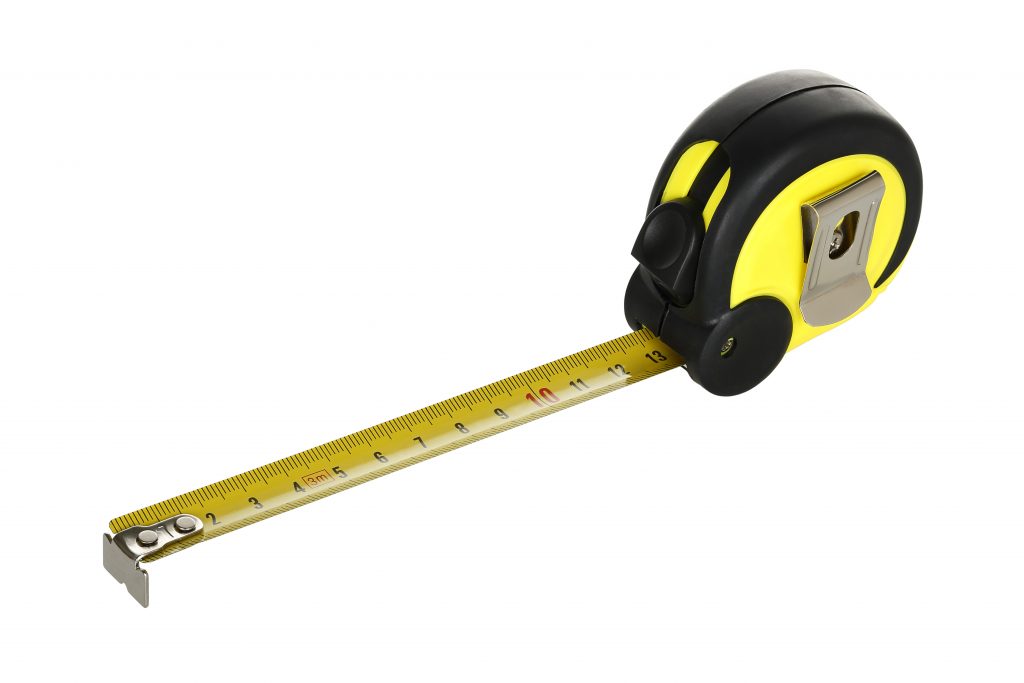
This home improvement blog post reveals the “secrets of the tape measure.” It provides explanations for tape measure issues that might trip students up. For example, it explains what the “studs” and diamonds on the tape measure mean and how best to mark measurements.

Utility knives are multi-use tools with retractable blades, and as this article from SafetyToolboxTips.com notes they require a lot of respect when being used. The article offers several safety tips that students should be familiar with before using a utility knife.
Lesson Two – Fix-It Vocabulary
In this lesson, resources are provided to define and explain the tricky or unfamiliar fix-it vocabulary that might trip students up as they get started on their home repair projects:
Allen Wrench – Used for bolts and screws with hexagonal socket. Also known as a hex-key.
Belt Sander – Used for wood removal; these powerful tools have multiple uses, including scribing, sanding, leveling, rounding, and shaping
Caulk – A sealant that “provides airtight, water-tight, or non-porous seal” (eHow.com)
Channel Lock Pliers – An adjustable wrench used for grabbing and pinching
Closet Auger – Used to clear toilets; has “an offset hand crank, a long sleeve handle and a special auger bit at the end to break through a clog or retrieve an obstruction like a rag” (HomeRepair.About.com)
Compressor – “Controls the flow of refrigerant in a refrigerator” (RealSimple.com)
Condenser Fan – Forces air through a refrigerator’s condenser coils “to help transfer the heat of compression to the environment” (SFGate Home Guides)
Evaporator Fan – Found in a refrigerator’s freezer compartment, its purpose is to “pull air over the evaporator coil and circulate it throughout the unit” (Fridgeman.Wordpress.com)
Faucet Aerator – Placed on the end of a faucet to control water flow
Flywheel – In a garbage disposal “rotates to spin the impellers that shred the food waste” (HowStuffWorks.com)
Grout – Used to fill the crevices between tiles
Joint Compound – A white substance used to “seal joints between sheets of drywall” (Wikipedia.org)
Joists – “Structural beams placed parallel to each other, which support the floor above” (HomeRenovations.About.com)
Keyhole Saw – “Long, narrow saw used for cutting small, often awkward features in various building materials” (Wikipedia.org)
Knee Kicker – Used to install carpet; helpful when “installing carpet on stairs and small areas, including closets, and also used to position carpet in larger areas” (WiseGeek.com)
Are you wondering how much this can save you? Use our Carpet Cost Calculator to estimate your savings.
Plumber’s Snake – Used to unclog drains, a “coiled spiral [tool] that’s usually about 1/4-inch thick with a handle on one end” (Dummies.com)
Scoring Tool – Used to cut glass; a small tool that when used with a straight edge is “drawn across the material in a straight line…creating a scratch or score in the sheet.” (Wikipedia.org)
Square – A carpenter’s tool consisting of “two straightedges set at right angles to each other” (Britannica.com)
Torx Head (Screws or Drill Bits) – Commonly known as a star head because it is shaped like a six-pointed star
Window Sash – “The framed part of the window which holds the sheets of glass in place” (HomeRenovations.About.com)
Lesson Three – Fix-It Projects
In this lesson, students learn the ins and outs of common home repair projects. The projects are divided by areas of the home and skill level so that educators can ease students into learning these valuable life skills on their way to becoming fix-it literate.
Appliances
Let’s Get Started Beginner Project – How to Fix an Ice Maker
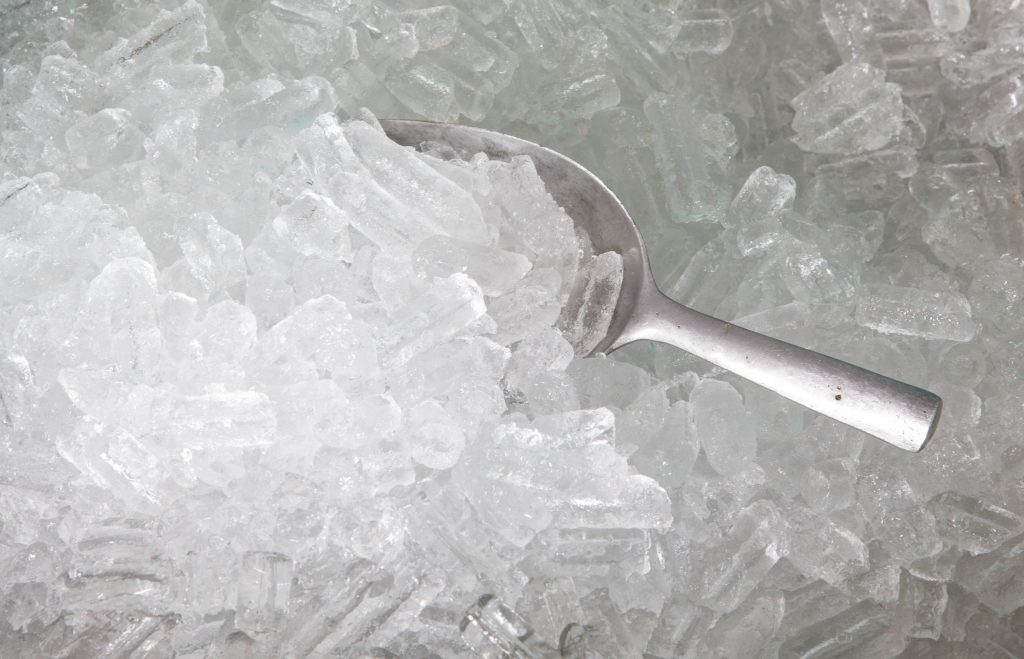
- How – eHow.com’s “How to Fix a Frozen Ice Cube Maker” presents a 6-step, easy-to-understand process for teaching students how to fix a frozen ice cube maker. The article explains that the trouble is usually caused by a frozen fill line.
- Why – An icemaker is convenient, but only when it is working properly. When students learn to fix this common household appliance on their own, they can avoid a costly visit from a refrigerator repair pro.
- Tools/Materials – Towel
Ready for a Challenge Intermediate Project – What to Do When the Garbage Disposal is Jammed
- How – About.com Home Repair offers the “How to Fix a Garbage Disposal” tutorial video. The short video is a great way to lead students through fixing a jammed disposal and teaches them to listen for a humming sound that indicates the flywheel has jammed and needs a quick fix.
- Why – As SFGate.com’s Home Guides explains when a garbage disposal’s flywheel gives enough resistance a circuit breaker will be thrown, cutting off its power. Until the jam is fixed, the disposal can’t be used.
- Tools/Materials – Wooden Dowel, Pliers, Allen Wrench (1/4 inch)
Fix-It Pro Projects –
1) How to Repair Refrigerator That Won’t Cool
- How – WikiHow’s “How to Diagnose Refrigerator Problems” makes repairing a refrigerator or freezer that won’t cool easy by providing step-by-step guides paired with labeled photos to walk students through each step and help ensure they’re working on the right parts.
- Why – As the article explains, refrigerator problems of this nature may be too difficult for a DIY fix; however, simply identifying the problem—and saving the refrigerator repair expert from having to do so—will save time and money.
- Tools/Materials – Socket/Ratchet Set, Wire Stripper/Cutter
*In Depth Troubleshooting Tips – WikiHow’s article offers a few helpful tips for diagnosing a refrigerator’s problem:
Light is on but refrigerator isn’t running – When this occurs the article suggests that the problem is the “temperature gauge was bumped” and should be checked.
Does it cycle on and off continuously? The article explains you should clean condenser coils and “test the outlet voltage” other parts like the condenser fan and compressor.
2) How to Replace a Dishwasher Motor
- How – A great advanced project, students will be Fix-It Literate if they can follow Home Maintenance Solution’s “Repair My Dishwasher” how-to videos, Part 1 and Part 2.These detailed videos lead students through each necessary step for repairing a dishwasher motor while providing ample instruction to ensure they can follow along easily.
- Why – Making these repairs will help make a noisy dishwasher quieter.
- Tools/Materials – Flashlight, Towel, Pliers, Torx Head Drill Bit, Drill, Socket Wrench, New Dishwasher Motor (specific to the brand of dishwasher)
Bathroom
Let’s Get Started Beginner Projects –
1) How to Clean Grout
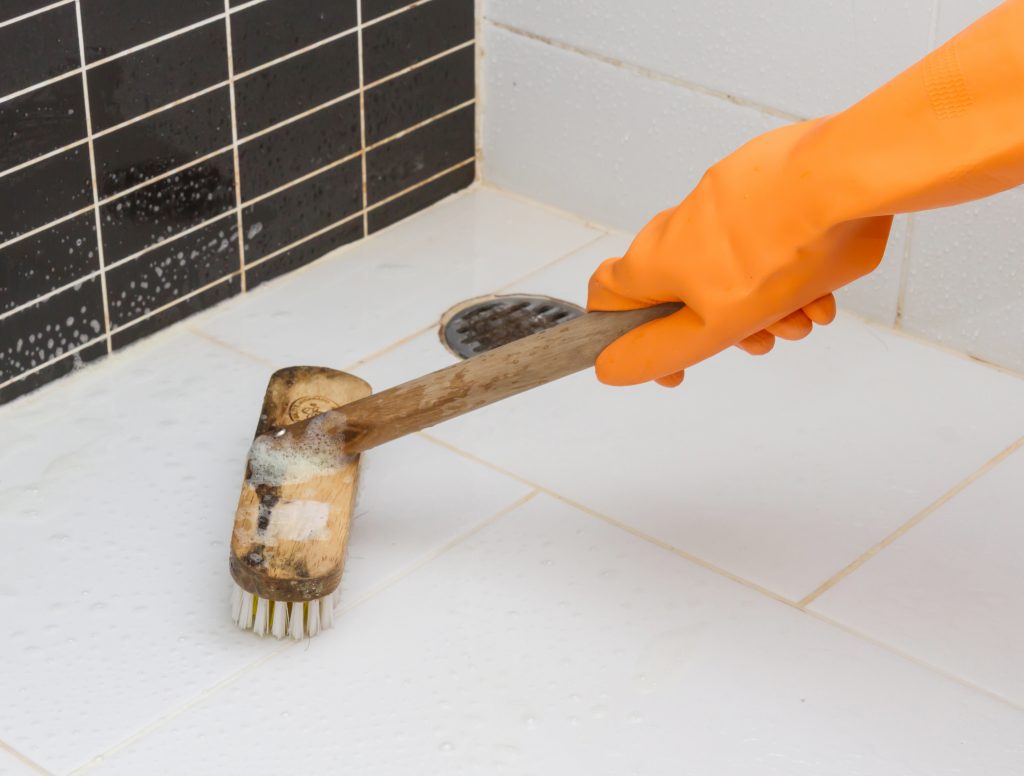
- How – In “How to Clean Grout: The Secret to Success,” Better Home & Gardens provides tips listed from mildest to strongest for dirt, grime, and stains from grout. It offers easy options such as using warm water, a stiff-bristled brush, and a little elbow grease, and more intensive options such as using a steam cleaner.
- Why – As the article notes, grout is light in color and porous so it is “prone to staining.” With several cleaning options under their belts, students can ensure the look of their grout stays appealing.
- Tools/Materials – Depending on the method used: Stiff-Bristled Brush, Warm Water, Vinegar, Baking Soda, Hydrogen Peroxide, Oxygen Bleach, Chlorine Bleach (use sparingly), Steam Cleaner
2) How to Replace a Broken Toilet Handle
- How – Howcast.com presents “How to Fix a Toilet Handle” a great animated how-to video to lead students through this easy DIY project. It also provides written step-by-step instructions and helpful tips, such as “Toilet handle bolts generally loosen in a clockwise direction – the opposite of most conventional bolts.”
- Why – A faulty handle can make it difficult to properly flush a toilet, which can lead to other toilet problems.
- Tools/Materials – Channel Locks, New Toilet Handle, Utility Knife
3) How to Unclog a Toilet
- How – There are many ways to unclog a toilet, and WikiHow.com presents nine of them with easy-to-follow instructions paired with helpful images:
- Why – A clogged toilet can be a major inconvenience. With the fix-it knowledge provided through the above tutorials, students can learn how to do it themselves without having to spend time and money on a plumber.
- Tools/Materials – Rubber Gloves, Newspapers (or another floor covering), Plunger, and the materials needed for the method of unclogging being used—e.g. Dish Soap, Bucket, Hot Water for the Dish Soap and Hot Water Method or an Enzymes Product for the Enzymes Method.
Ready for a Challenge Intermediate Projects –
1) How to Repair Caulk
- How – In “Small Repairs You Can Do Yourself” Better Homes and Gardens provides easy-to-understand advice on how to replace “worn-out caulk.”
- Why – Dummies.com’s “Caulking Your Tub and Shower” explains that caulking “prevents leaks and reduces mildew buildup” and should be done annually.
- Tools/Materials – Adhesive Remover, Damp Cloth, Ceramic Tile Cleaner, Caulk
2) How to Replace Cracked Grout
- How – Lowe’s provides a one-stop shop for learning how to repair grout. It offers a step-by-step guide, easy-to-follow video, and information about the materials students will need to complete this project.
- Why – As SFGate Home Guide’s article, “How to Repair Broken Grout on Tile Floors,” explains repairing cracked grout prevents damage to surrounding tiles.
- Tools/Materials – Grout Saw, Grout Float, Sponge, Vacuum Cleaner, Grout Mix, Grout Sealant, Grout Colorant
Fix-It Pro Projects –
1) What to Do When the Toilet Constantly Runs
- How – Students can learn the reasons why a toilet is running and how to fix the toilet by watching HomeRepairTutor.com’s video on the subject. And if they want to go at their own pace, they can follow along with the written instructions and labeled photos provided by HomeRepairTutor.com here. It also includes a great lesson on how the toilet works.
- Why – As the U.S. Virgin Islands Water and Power Authority explains, “a leaky toilet, or a toilet that continues to run after being flushed,” can lead to a high water bill. When students learn to fix this problem themselves, they’ll also save their family the cost of hiring a plumber to fix it.
- Tools/Materials – Wire Cutters, Flathead Screwdriver, Phillips Head Screwdriver
2) How to Unclog a Sink or Tub Drain
- How – In “Clear Any Clogged Drain,” ThisOldHouse.com provides detailed instructions on how to clear common clogs:
- Why – As LifeHacker.com notes, when a leak isn’t fixed, it could “inadvertently flood your floor.”
- Tools/Materials – Plunger, Plumber’s Snake, Rag
*In Depth Troubleshooting Tip –
Having trouble clearing the clog in a sink? It may be because the right amount of pressure isn’t being forced on the clog. The article recommends stuffing a wet rag in the second drain of double-bowl kitchen sinks or into the overflow hole of a bathroom sink.
Doors and Windows
Let’s Get Started Beginner Projects –
1) How to Clean Glass Streak-free
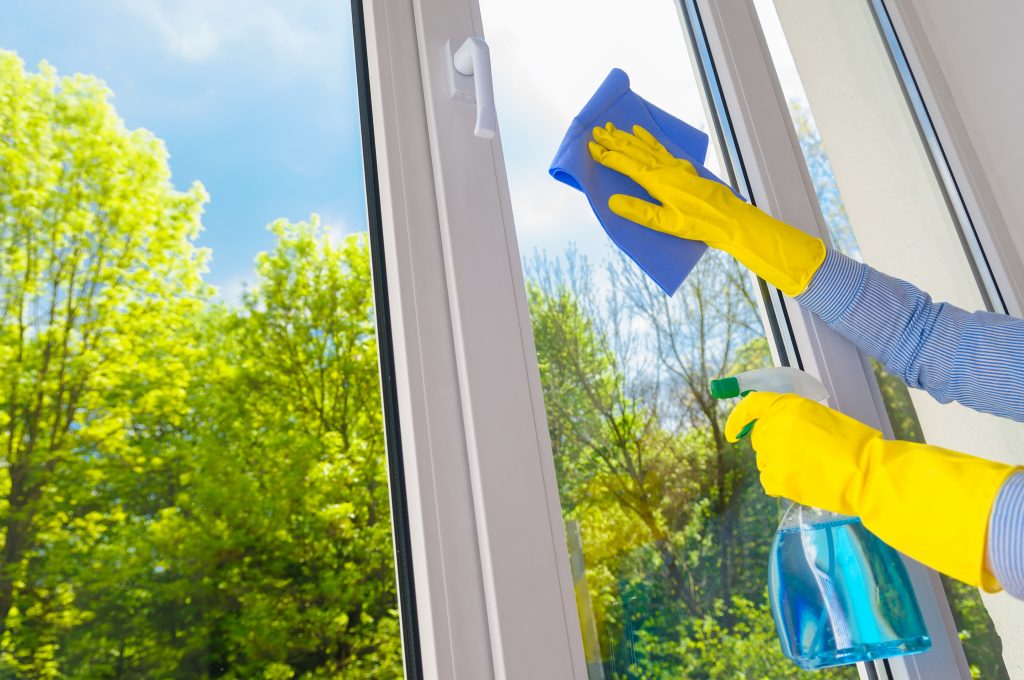
- How – Window cleaning can be a time-consuming pain, but HowStuffWorks.com’s “5 Tips for Cleaning Glass Without Streaks” makes it a little easier to learn how to perform this task successfully:
- Why – As the article explains, without streak-free cleaning knowledge, students risk putting in a lot of work only to have to suffer through streaks that “catch the light just so” on their “clean” windows.
- Tools/Materials – Cleaner, Distilled Water (if diluting a cleaner), Vinegar, Microfiber Cloth or Newspaper (instead of paper towels), Squeegee
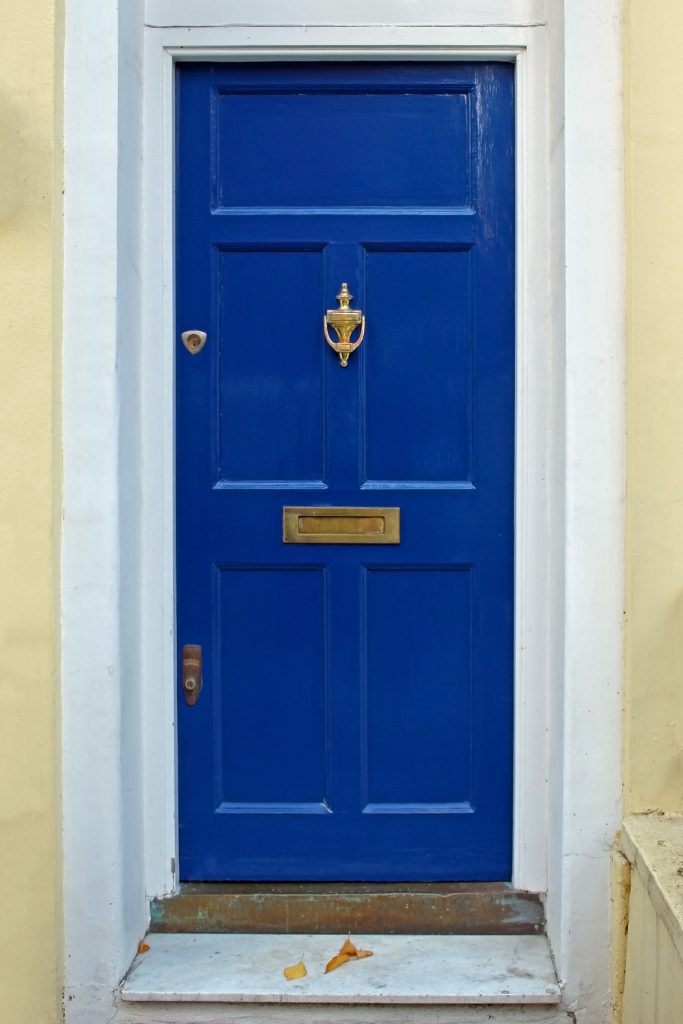
2) How to Fix a Squeaky Door
- How – Instructables.com presents, “How to Fix a Squeaky Door.” This tutorial features written instructions alongside helpful photos to teach students what causes squeaky doors and how to fix them.
- Why – Squeaky doors can be very annoying. As the Instructables.com piece notes, replacing the hinges can be costly, but learning to clean them is easy and affordable.
- Tools/Materials – Hammer, Flathead Screwdriver, Steel Wool, Paper Towels, Lubricant
3) What to Do with a Door That Slams
- How – SFGate.com Home Guides’ “How to Make a Slamming Door Silent” provides four methods that can be taught to students to help them fix a slamming door. They are weather stripping, dampers and dictators, pneumatic door closer, and hydraulic door closer.
- Why – As the SFGate.com piece points out, a slamming door can “disturb the peace” of a home.
- Tools/Materials – Depending on the method used, Foam Weather Stripping, Cutting Tool, Damper or Dictator, Screwdriver, Pneumatic Door Closer, Hydraulic Door Closer
Ready for a Challenge Intermediate Projects –
1) How to Loosen a Stuck Window
- How – In “How To Unstick a Stuck Window,” Dummies.com presents three methods, including step-by-step instructions for unsticking a window.
- Why – As the article notes, “Nothing is worse than a stuck window on a hot summer day.” A stuck window could also be a safety hazard if it is part of a fire escape plan.
- Tools/Materials – Depending on the method used: Cloth, Block of Wood, Hammer, Putty Knife, Pry Bar, Utility Knife
2) What to Do with a Door That Sticks
- How – This Old House presents a step by step process for diagnosing and fixing sticky doors in “How to Fix a Door That Sticks“. This article can be used to walk students through how to diagnose what’s causing the door to stick and provides methods to solving the issue.
- Why – Fixing a sticky door will make it easier to close, but more importantly, learning to do so without having to sand the door will help ensure that it still provides a sufficient seal.
- Tools/Materials – Phillips-head Screwdriver, Drill, Belt Sander (if necessary)
Fix-It Pro Project – How to Replace Window Glass
- How – Replacing window glass can be a tedious task, but DIYAdvice.com makes it a little easier with its tutorials. Students can follow the 10-step process provided by the site, which also includes photos and instructions for replacing glass in a wood frame and a three-step process with photos and instructions for replacing glass in a vinyl frame.
- Why – As HomeRenovations.About.com notes in “This Is Easily The Best Way to Fix a Broken Window,” most people assume they’ll have to hire a glazier or replacement window company to fix a broken window but it is “easy and inexpensive to do [it] yourself.”
- Tools/Materials – Thick Gloves, Long Clothing, Protective Eyewear, Tape Measure, Paint Scraper, Chisel, Putty Knife, Wire Brush, Heat Gun, Glass Cutter (if needed), Glass Pane, Glazing Points, Glazing Putty, Linseed Oil, Hammer
*In Depth Troubleshooting Tips –
Having trouble removing the broken glass? DIYAdvice.com notes, “You may need to tap the glass with a hammer to create a new break line.”
Is wood molding used to secure the pane? If so, DIYAdvice.com suggests using a pry bar to pry it out. When it’s time to reinstall, be sure to “angle the nails so that they do not touch the glass.”
Exterior
Let’s Get Started Beginner Project – How to Remove Oil Stains from a Driveway
- How – LifeHacker.com offers a fun way for students to learn how to remove oil stains from a driveway or garage floor. Use cola! The article explains that pouring room temperature cola on an oil stain and letting it sit overnight will lift the stain.
- Why – Oil stains aren’t necessarily dangerous but are ugly. Cleaning them from the driveway can improve a home’s curb appeal.
- Tools/Materials – Room-temperature Soda, Old Towels, Dish Soap (if needed)
Ready for a Challenge Intermediate Project – How to Solve Common Lawn Problems

- How – A wide variety of problems can plague a lawn, preventing it from looking its healthiest. From what to do about clover and dandelions to how to fix bare patches and brown grass, RodaleNews.com presents “7 Nontoxic Fixes for Common Lawn Problems.” Students can learn how to repair these common lawn problems without exposing themselves or the environment to harmful chemicals.
- Why – A great lawn gives a cosmetic boost to a home, and taking a nontoxic approach, as the article reports, helps reduce the 90 million pounds of pesticides and herbicides Americans use on their yards each year.
- Tools/Materials – Depending on the lawn’s problem, Soil Test, White Vinegar (in Spray Bottle), Dandelion Weeder, Shovel, Corn Gluten, Nematodes, Clover
Fix-It Pro Projects –
1) How to Fix Driveway Cracks
- How – HowStuffWorks.com provides detailed information on how to fix driveway cracks and potholes. Students can learn what methods they should use based on the kind of driveway they have.
- Why – As the piece explains, fixing cracks, potholes, and other driveway issues can “improve your home’s curb appeal.”
- Tools/Materials – Protective Clothing, Small Hammer, Protective Goggles, Gloves, Broom, Wire Brush, Mason’s Chisel (or Large Flat Screwdriver), Pointing Trowel, Air Compressor (or Canned Air or a Shop Vac), Water
*In Depth Trouble Shooting Tip –
Look for the underlying problem. To avoid having to repair cracks again a couple of months down the line, figure out and fix what is causing the cracks in the first place. As the article notes, “Preventing further damage is vital to the overall success of your repair project.”
2) How to Replace a Rotted Deck Board
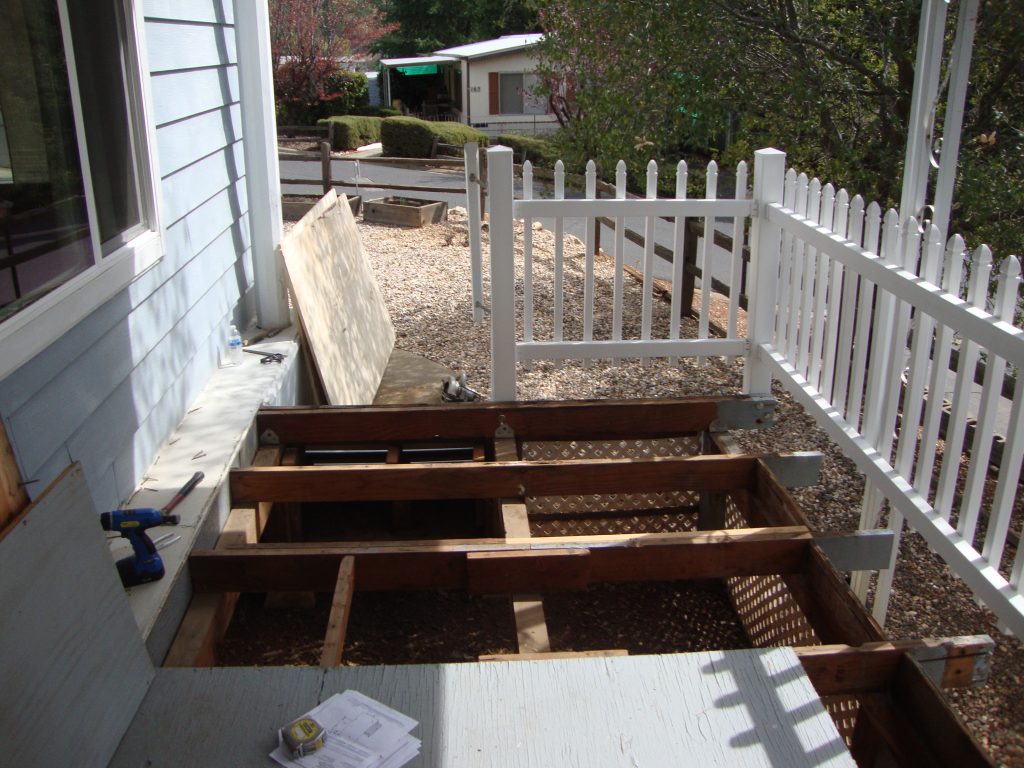
- How – YouTube user BackyardMech offers this great step-by-step how-to video on replacing a deck board. He’ll lead students through each part of the process, providing troubleshooting tips and other helpful advice along the way.
- Why – Rotten deck boards are a safety hazard. As SFGate.com’s Home Guides’ article “How to Replace a Treated Wood Deck” points out, replacing deck boards is a “less expensive alternative to give your deck new life.”
- Tools/Materials – Tape Measure, Square, Spacers, Pry Bar, Hammer, 2 ½ Nails or Deck Screws, Drill (if using deck screws), Hand Saw, Replacement Board, Sharpie Marker
Flooring
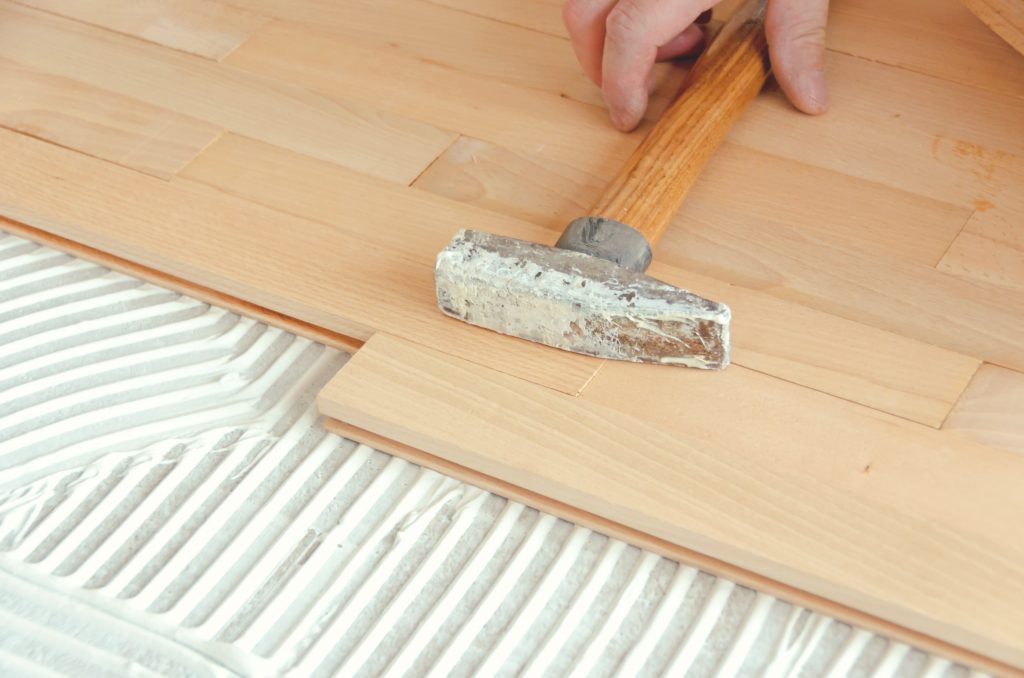
Let’s Get Started Beginner Project – How to Repair Damaged Laminate Flooring
- How – Students can learn how to fix damaged laminate flooring by following the three methods provided by WikiHow.com in its “How to Repair Laminate Flooring” article. Each step is accompanied by a helpful illustration. Here are the three methods:
- Why – A scratch in laminate is an eyesore and might affect the overall cosmetic appeal of a floor.
- Tools/Materials – Depending on the method used, Floor-cleaning Supplies, Laminate Repair Kit (Make sure it matches the floor’s color), Putty Knife, Cloth, Drill, Floor Glue
Ready for a Challenge Intermediate Project – How to Remove and Replace a Broken Tile
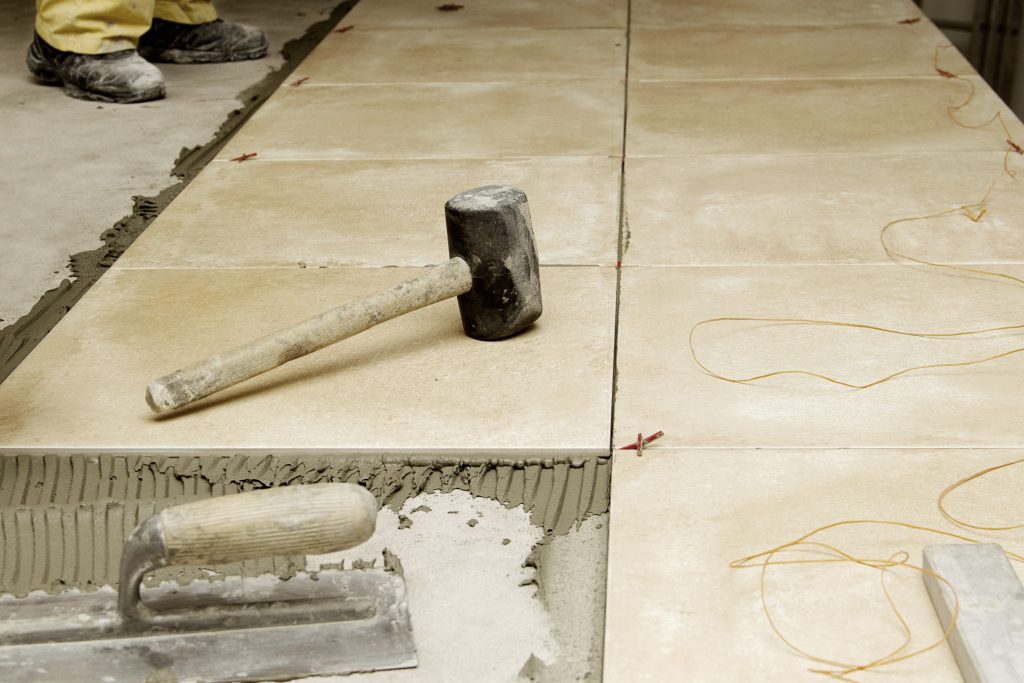
- How – This Old House’s “How to Replace a Broken Tile” provides a tutorial with photos to lead students through the process.
- Why – As the article notes, ceramic tiling is a durable, low-maintenance floor covering. Learning to replace broken tiles is a real money-saver.
- Tools/Materials – Carbide-tipped Scoring Tool, Drill, Hammer, Chisel, ¼-Inch Notched Trowel, Painter’s Tape, Grout, Replacement Tile
*In Depth Troubleshooting Tip –
Give the tile a little extra stick. When it is time for the new tile to be set in place, apply thinset to the surface that is being tiled. But for the best stick the article recommends using thinset to “butter the back of the new tile” before securing it in place.
Fix-It Pro Project – How to Remove and Replace Damaged Carpet
- How – In “How to Patch Carpet,” WikiHow provides a two methods for repairing damaged carpet. The article includes photos to help clarify some steps.
- Why – Learning to make one’s own carpet repairs saves money. It will also help extend the life of the carpet.
- Tools/Materials – Utility Knife, Hammer, Matching Carpet Piece, Carpet Pad, Tack Strip, Seam Tape, Tack Strip Cutter
Plumbing
Let’s Get Started Beginner Project – How to Improve Water Pressure
- How – Plumbing.About.com offers quick tips on basic plumbing repairs and fixes. One tip explains how to improve water pressure by cleaning calcium deposits out of a faucet aerator. Students can follow the steps provided here to learn how to remove and clean the faucet aerator.
- Why – This is a quick fix that can save students a lot of money when they do it themselves.
- Tools/Materials – Pliers, Rag, WD-40 (if needed)
Ready for a Challenge Intermediate Projects –
1) How to Fix a Leaky Faucet
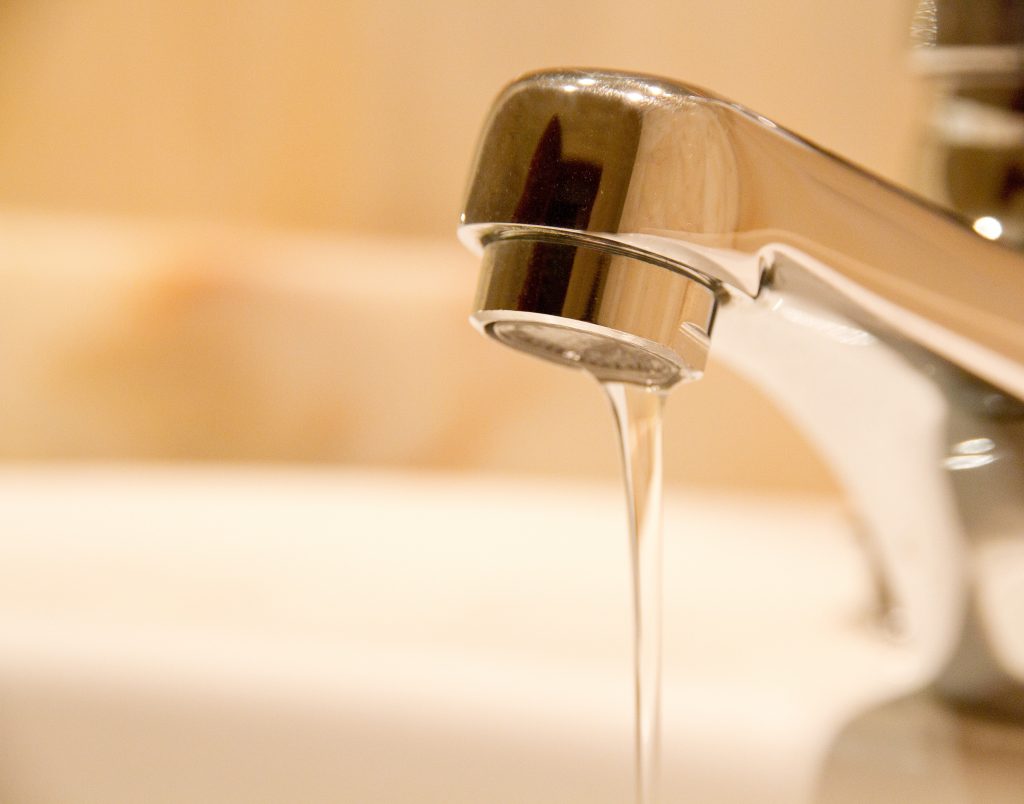
- How – Fixing a leaky faucet doesn’t have to be difficult. PopularMechanics.com’s article on the topic proves that by providing an easy-to-follow five-step process.
- Why – As the article explains, a leaky faucet can cause a lot of damage—it can increase the water bill and lead to costly water damage if not fixed.
- Tools/Materials – Adjustable Wrench, Screwdrivers (Phillips and Flathead), Penetrating Oil (e.g. WD-40), Replacement Washers and O-Rings
2) How to Improve Water Heater Efficiency
- How – Students can learn how to maintain and improve the efficiency of their home’s water heater with this article from the Michigan Energy Observer. The article explains how to drain and flush a water heater tank, an essential task for keeping it working properly. It then provides tips on how to insulate the water heater in order to improve its efficiency.
- Why – As the article explains, a home’s water heater consumes “17 percent of the household’s energy intake.” By properly maintaining the water heater and taking these steps to insulate it, that amount can be reduced.
- Tools/Materials – Garden Hose, Scissors, Pipe Insulation Tubing, Duct Tape, Low Flow Shower Heads, Electrical Timer
Fix-Pro Project – How to Repair a Plastic Pipe
- How – DIYAdvice.com explains in “Repairs to Plastic Pipe” that PVC pipe is commonly used in drain lines. The tutorial provides a five-step process along with photos to teach students how to make repairs on their own plastic pipes.
- Why – With this project, students learn there’s no need to hire a plumber every time they discover a water leak. SFGate.com’s Home Guides notes in an article that installing PVC doesn’t require as much skill as installing copper plumbing.
- Tools/Materials – PVC Saw, Miter Box, Utility Knife, Tape Measure, Felt-tip Pen, PVC Pipe Cutter, Drop Cloth, PVC Pipe and Fittings, Primer Cement
*In Depth Troubleshooting Tip –
Avoid future leaks. As the article notes, take care to properly prime and glue all joints, otherwise they may leak.
Use alignment marks on tees and elbows. These fittings make turns and need to be installed a certain way. The article recommends using marks to “ensure the fitting faces the right way.”
Walls
Let’s Get Started Beginner Projects –
1) How to Remove a Bubble in the Wallpaper
- How – Students can learn how to fix this nuisance from StyleAtHome.com’s “How To: Fix Bubbling Wallpaper.” The article provides a seven-step process for removing wallpaper bubbles.
- Why – As Dummies.com points out in its article on fixing wallpaper bubbles, when steps are taken to remove a wallpaper bubble “further damage like tears or rips” can be prevented.
- Tools/Materials – X-acto Knife, Syringe, Wallpaper Glue, Seam Roller, Damp Cloth
2) How to Re-stick Peeling Wallpaper

- How – Peeling wallpaper is a common problem, but with eHow.com’s “How to Fix Peeling Wallpaper,” students can master this repair in just 5 easy steps.
- Why – Peeling wallpaper is a major eyesore. Learning to make this repair shows students how to make a quick cosmetic fix while lengthening the life of the wallpaper.
- Tools/Materials – Wallpaper Repair Paste, Sponge, ½ Inch Paintbrush, Wallpaper Seam Roller
Ready for a Challenge Intermediate Projects –
1) How to Prep a Wall for Painting
- How – As Benjamin Moore’s article “Preparing Walls for Painting” shows, it’s important to go through necessary prep work before painting a wall. Tackling tasks such as cleaning the walls, patching up holes, and taping off molding will actually make the job easier. The article provides several tips on how students can properly prepare walls for painting.
- Why – HowStuffWorks.com explains in “5 Home Repairs You Really Should Know How to Do Yourself” that this kind of prep will improve how a finished paint job looks.
- Tools/Materials – Towel, Paint Scraper, Sandpaper, Primer, Paintbrushes and/or Roller, Paint Tray, Painters Tape, Drop Cloth, Paint Can Opener, Gloves, Old Clothes
2) How to Paint a Room
- How – Once students have learned how to prep a room for painting, they’ll be ready for the next step—painting it. MakeItLovely.com provides a comprehensive tutorial on painting—from how to choose the right paint to how to choose the right color to which painting techniques are best.
- Why – Painting interior walls is an inexpensive way to turn an ordinary room into something amazing.
- Tools/Materials – Paint, Stirring Stick, Angled Paint Brush, Small Bowl, Roller, Roller Cover, Roller Tray, Roller Extension Pole, Painter’s Tape, Drop Cloth, 5-in-1 Tool
*In Depth Troubleshooting Tips –
Aim for three feet. The blogger advises “aiming for a three-foot wide section at a time” when painting with a roller.
Don’t panic over paint drips. Even when dry they can be removed. eHow.com’s “How to Remove Paint Drips from Baseboards and Walls” provides a 6-step process for cleaning up these mistakes.
Fix-It Pro Project – How to Patch a Drywall Hole
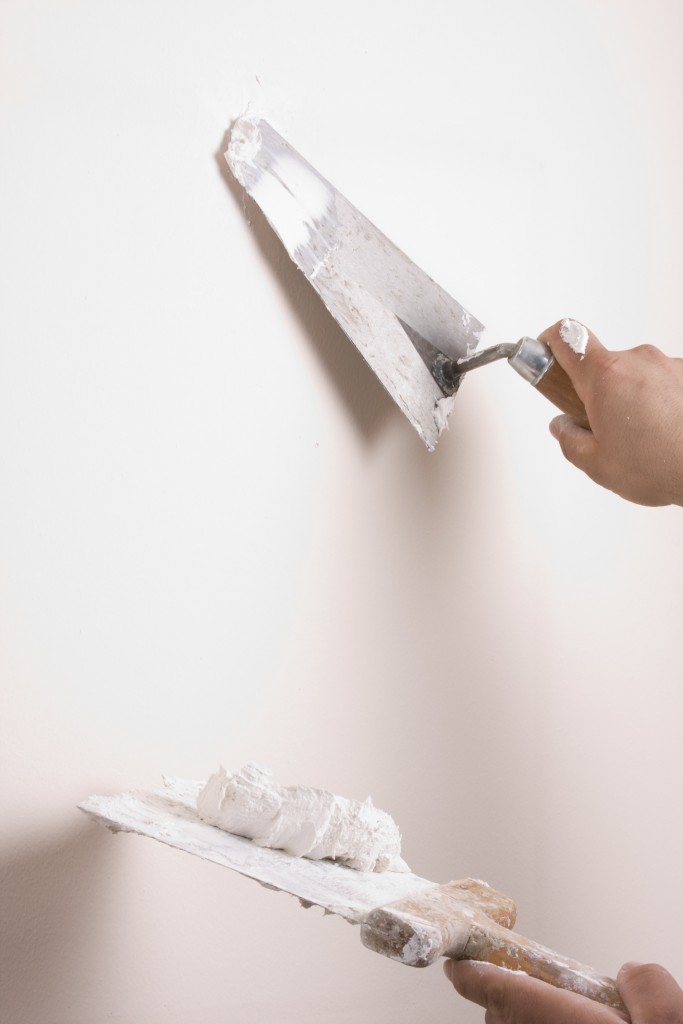
- How – In “How to Patch a Hole in Drywall,” LifeHacker.com presents students with the two essential steps of repairing drywall. In Step 1, students can follow the provided instructions and photos to “secure the wallboard in place.” In Step 2, they’ll “tape and finish with joint compound.”
- Why – A drywall hole is unsightly. When students learn to patch these holes, they can save themselves (or their families) the cost of a cosmetic repair.
- Tools/Materials – Drywall Knives (6” and 10”), Wallboard, Paper Drywall Tape, Cordless Drill, Drywall Screws, Scrap Wood, Joint Compound, Keyhole Saw (or Spiral Saw)
Woodwork
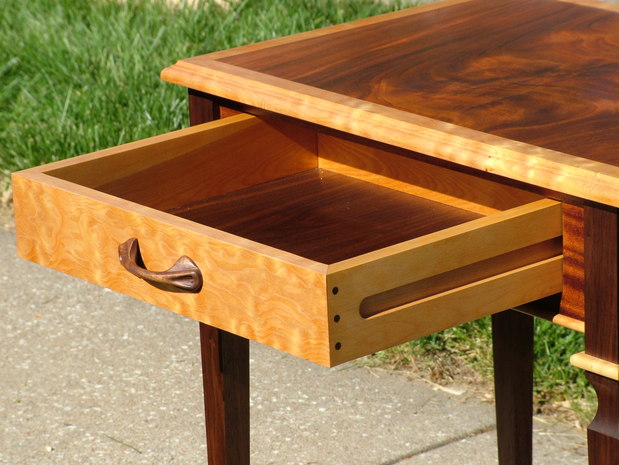
Let’s Get Started Beginner Project – How to Repair Scratched Wood Furniture
- How – This illustration from TheSecretYumiverse.WonderHowTo.com provides students with 10 great ways to use household items to fix scratches in wood furniture.
- Why – Wood furniture is durable and usually scratches and nicks are only superficial. When students learn to make these repairs themselves, they can prolong the life (and appearance) of their wood furniture.
- Tools/Materials – Depending on the method used: Lemon Juice, Vegetable Oil (or Olive Oil), Lint Cloth, Nuts (Brazil Nut, Walnut, Almond, etc.), Coffee Grounds, Q-Tip, Tea Bag, Hot Water, Eyebrow Pencil, Crayon, Iodine, Fine Paint Brush, Oil-Based Artist Paint, Shoe Dye (or Polish), Cotton Swab, Felt-Tip Marker
Ready for a Challenge Intermediate Project – How to Repair Wood Furniture That Has Been Chewed by a Pet
- How – Chew marks from a pet don’t have to be permanent. DIYNetwork.com offers step-by-step instructions on how to repair a piece of wood furniture that has been chewed by a pet. Each step includes a photo set to make it easier to understand and perform.
- Why – As the article notes, in addition to being unsightly, chew marks can sometimes affect the “structural integrity” of the piece of furniture.
- Tools/Materials – Utility Blade, Putty Knife, Fan Brush, Sandpaper (150-grit and 220-grit), Auto Body Filler, Acrylic Paint, Clear Acrylic Spray Sealer, Paper, Wood Filler, Heavy Paper Plates, Mineral Spirits
*In Depth Troubleshooting Tip –
Place masking tape on knife blade. When scraping the chewed area, the article recommends removing the blade from a utility knife in order to have better control. For a more comfortable grip, “place masking tape over the end of the blade” that will be held.
Fix-It Pro Project – How to Repair/Restore Wood Molding
- How – This Howcast.com video provides tips and tricks to teach students how to restore wood molding. The video’s transcript is also provided and students can use it as a guide to follow along as they make repairs to their wood molding.
- Why – Making these repairs is a great way to breathe new life into an old space.
- Tools/Materials – Mask, Sander, Sandpaper, Solvent-based Primer, Paint Brush, Wood-filler, Joint Compound, Scraper, Damp Cloth
Lesson Four – Quick “Fix-Its” for Renters
According to the National Multifamily Housing Council, more than 54 million people in the U.S. under the age of 30 rent their housing, and they make up more than half of the renting population. Chances are—either in college or in early adulthood—young people will live in a rental property.
As AllBusiness.com notes, rental properties have certain rules by which tenants must abide. This section provides educators with resources they can use to teach students know how to make repairs or changes to their living area within common rental guidelines:
Remove scuff marks from walls. GoodHousekeeping’s Heloise suggests trying baking soda first. If that doesn’t work, she recommends using a “spot remover or dry cleaning solvent.” Either way, she warns, test it first to “be sure it doesn’t harm the finish.”
Cover up holes in walls. Students can follow along with the video to learn more about the tools needed for this project and the three-step process for filling screw holes—Prepare the drywall; Fill screw holes; Cover screw holes.

Remove counter stains. This Old House offers two methods for removing tough stains from countertops—a baking soda paste and nail polish remover (or another solvent). It also advises students not to let spills sit and to apply countertop polish to protect against staining.
Remove scuff marks from wood floors. LovetoKnow.com’s “How to Get Scuff Marks Off Hardwood Floor” warns that the first rule of thumb is to be gentle. It provides a table of cleaning options separated by three categories—Cleaner, Recommended Use, Cautions. Students can use it and trial and error to find their preferred method for removing scuff marks.
Stain furniture. With this video, students can follow along with Martha Stewart to learn the proper techniques for staining—e.g. if a piece of furniture came in parts, stain the parts individually before assembling it. They’ll also learn the tools and materials they’ll need to make the process run smoothly.
Change the showerhead. If students dislike the standard issue showerhead that comes with their apartment, this guide from ApartmentTherapy.com provides easy steps and photos that they can follow to switch out their old showerhead with one that is more appeal.
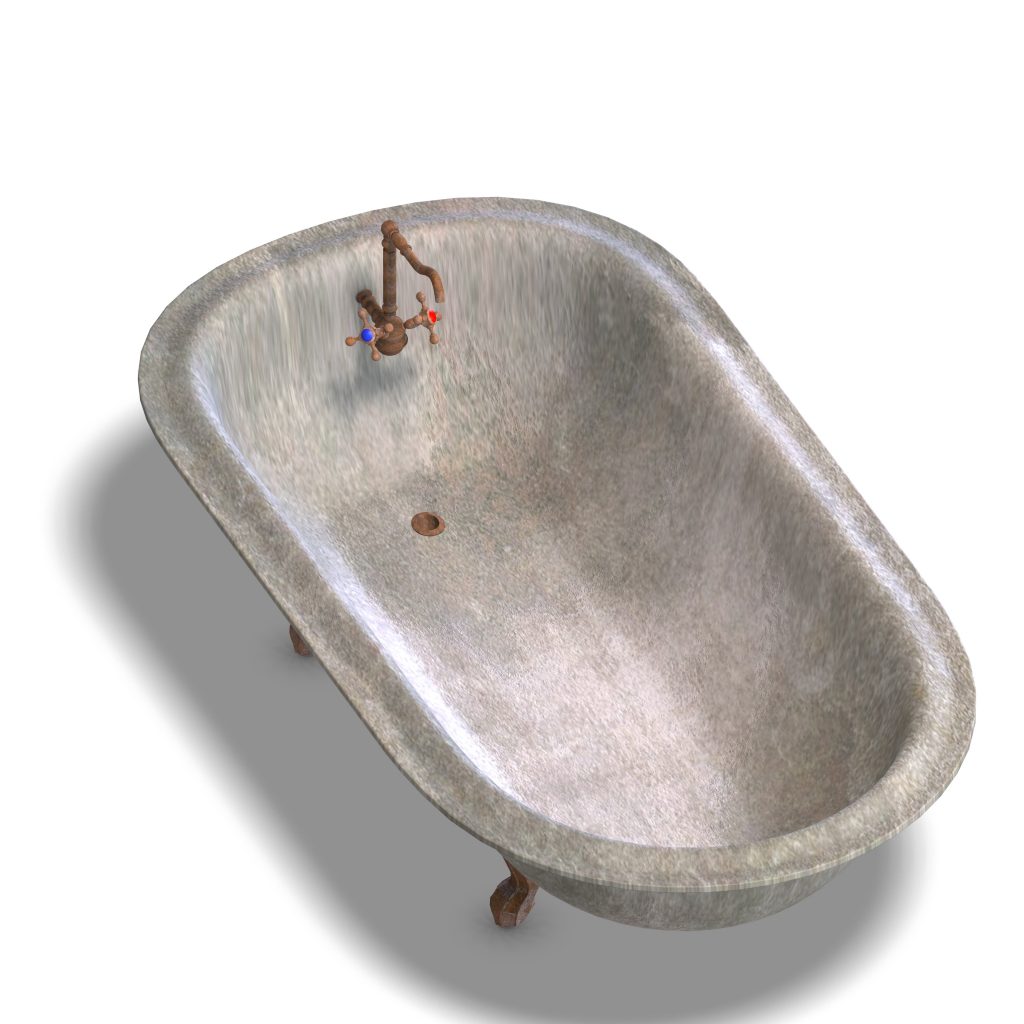
Remove stains from tub. RealSimple.com explains how to make a cleaning paste out of cream of tartar, baking soda, and lemon juice. Rub the paste on the stain, let it sit, and rinse it after a half hour.
Fix drafty windows. If windows are letting in too much cold air, Apartments.com suggests avoiding the cost that comes with “cranking up the heat” by applying weather stripping to windows where needed.
 Home Landscaping Resource Guide for Homeowners
  Tips for Starting a Home Composting System
  Vinyl vs. Wood Fencing: What’s the Difference?
  Head Off Common Construction Problems
  How to Survive the First Year of Homeownership

Are You Familiar With This Topic? Share Your Experience.