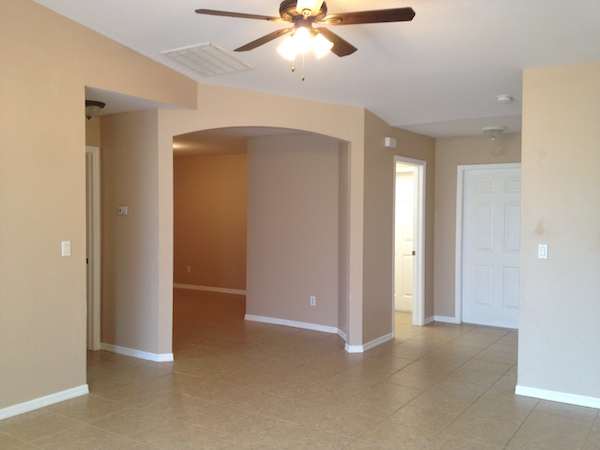
Drywall panels cover most walls and ceilings built over the last 40 years. Also called sheetrock, wallboard, or gypsum board, drywall is made of a layer of gypsum sandwiched between heavy paper facings. A waterproof type, sometimes called “green board” because of the color of the paper, is used in bathrooms and other areas subject to heavy moisture. Drywall installation is so common because it is simply the best material for the job on the market. It is far less messy than plaster (which used to be the standard) and less expensive than wood paneling. After you install drywall in your home, you have a surface that can be easily modified to look a variety of different ways, and you haven’t spent a bundle, either!
Drywall Installation: Panel Sizes
Drywall is purchased in panels. Though they can easily be cut to whatever size you like, generally these sheetrock panels, which are relatively cheap, are four feet wide, 1/4 to 5/8 inch thick, and six to 16 feet long. The standard size is 1/2 inch thick and eight feet long. They are applied to studs, joists, or rafters with drywall nails or screws, or with adhesive. Generally, you install drywall panels on ceilings before the drywall is applied to the walls.
To calculate sheetrock prices, consult our True Cost Guide.
Installing Drywall Tape
After hanging, joints between the drywall panels are “taped,” meaning they are covered with a paper or fiberglass tape and coated with several layers of smooth, plaster-like joint compound. The corners of walls and windows can be left square or rounded, also known as “bull-nosed corners.” The final step is to finish the drywall by applying more joint compound to give the entire wall or ceiling a uniform appearance. People often elect to save money by keeping the walls in garages, storage, and other work areas unfinished.
After Drywall Installation: Finishing
The last thing to think about when you install drywall is finishing. Drywall finishing is a project that many do-it-yourselfers attempt because the pros make it look so easy; the vast majority of DIYs, however, quickly learn that there’s more to this aspect of drywall installation than you might initially think.
Ready to start your drywall installation?
Find ProsThere are two basic drywall finish styles: smooth and textured. Drywall can be finished smooth for wallpaper (a layer of joint compound is applied over drywall and sanded) and smooth for paint (smooth for paint leaves a slight pebble finish). Many faux painting effects require smooth finishing as well. Textured finishes can range from light to medium and heavy, with both simple and complex textures. A sprayed drywall texture is the most popular application method today because it requires less labor and is less costly than hand-applied finishes. Fine to coarse grades of drywall texture can be sprayed and left in place or quickly flattened with a hand trowel (“knock down” style). The finish can be made even coarser by adding textured granules (of foam, for instance) to the drywall compound before spraying. Thick layers of joint compound can also be applied by hand to resemble old-fashioned plaster (this is most common on ceilings).
Hiring a Pro to Install Drywall
Most drywall contractors will bid basic drywall installation by the area and charge extra, if necessary, for special finishing, including the cost to texture drywall. Be sure to discuss all the options available and ask for finish samples, if possible, to best understand what you are getting, avoid surprises, and minimize or eliminate misunderstandings. There will probably be many companies in your area that do drywall installation; make sure to get a few quotes from several different companies to make sure you get the best price for quality work.
 Nails or Screws for Hanging Drywall: Which Works Better?
  How to Patch Drywall & Fill Cracks
  Drywall Basics for the Finish You Want
  Drywall Texturing Methods

Are You Familiar With This Topic? Share Your Experience.