
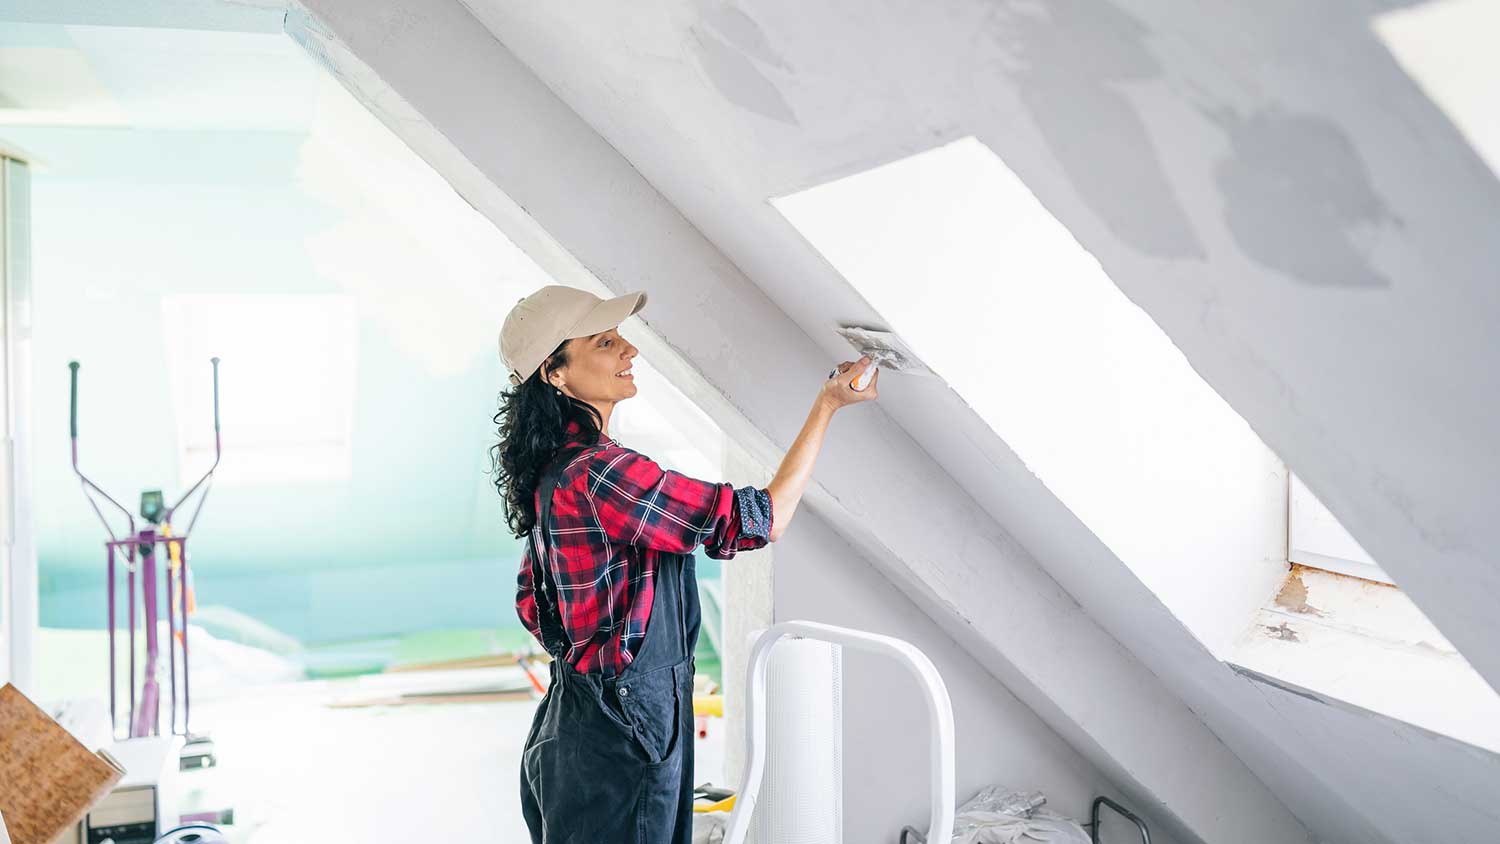
Use this guide to learn what to expect when it comes to drywall repair costs. Find the cost of fixing holes, cracks, bowing, and water damage in walls.
Shore up your construction budget with this drywall calculator

To estimate the total square feet of drywall, also known as gypsum board, you’ll need to deterimne the number of sheets. For an estimate, follow these steps:
Drywall needed = total area/sheet size.
Multiply the length and height of one wall.
Don’t worry about excluding windows and doors, they’ll get trimmed later.
Record the area.
Repeat this process for all walls.
Don’t forget to measure each side of a wall that needs covering.
Multiply the length times the width of each ceiling area and combine them.
Measure the floor directly below the ceiling area.
Add together all wall and ceiling areas.
This is the total square feet of your project.
Divide this number by the square feet of each drywall sheet
| Sheet Size | Square Feet |
|---|---|
| 4x8 | 32 |
| 4x9 | 36 |
| 4x10 | 40 |
| 4x12 | 48 |
| 4x16 | 64 |
Round up to the nearest whole number.
For waste, purchase at least two extra sheets.
Alternately, you can add 10%.
How to measure a standard 10 by 15-foot room with 9-foot high ceilings as an example:
Measure the walls:
10 x 9 = 90. For two walls: 180 square feet.
15 x 9 = 135. For two walls: 270 square feet.
Measure the ceiling:
15 x 10 = 150 square feet.
Add the areas together:
180 + 270 + 150 = 600 total square feet.
Find how many sheets you’ll need using 4×9 sheets:
600 / 36 = 16.67
Round up:
16.67 = 17 sheets.
Add 2 sheets for waste:
You’ll need 19 total sheets.
Sheets of drywall come two to a bundle with the smooth, finished side facing inward, towards each other. However, you can purchase odd numbers. Home improvement stores will separate the bundles to meet your needs. It’s usually cheaper to purchase these in bulk.
Before calculating your layout, its best to understand drywall basics. For all 4-foot-wide sheets simply measure the perimeter of the project, divide by 4 and round up to find how many sheets you’ll need. The key to calculate the layout of your drywall is minimizing joints and not worrying about waste. You’ll cut out windows, doors and other openings, so ignore these while calculating.
Decide whether you’ll orient your drywall vertically or horizontally. You’ll determine this by ceiling height:
8-foot or lower: Align 4’x8’ sheets vertically.
9-foot: Use 4’x9’ installed vertically or 4.5’ wide sheets installed horizontally.
10+ foot: Use 4’x10’ or longer sheets installed vertically to match your ceiling height.
2. Determine ceiling layout by room layout. This will vary by the direction the joists run and the design. Always install ceilings before walls.
Area of a triangle = (Base Length x width) / 2
To find the area of a wall with an angled top, such as with a vaulted ceiling, just measure the triangular section at the top separate from the rest of the wall. To find the area:
Measure the height of the area.
Measure the length of the area at its base.
Multiply them and divide the result by 2.
You’ll most likely still use full sheets for the area. When determining how many sheets you need, simply measure the wall at its tallest point and multiply by its length. You can trim the sloping section during installation.
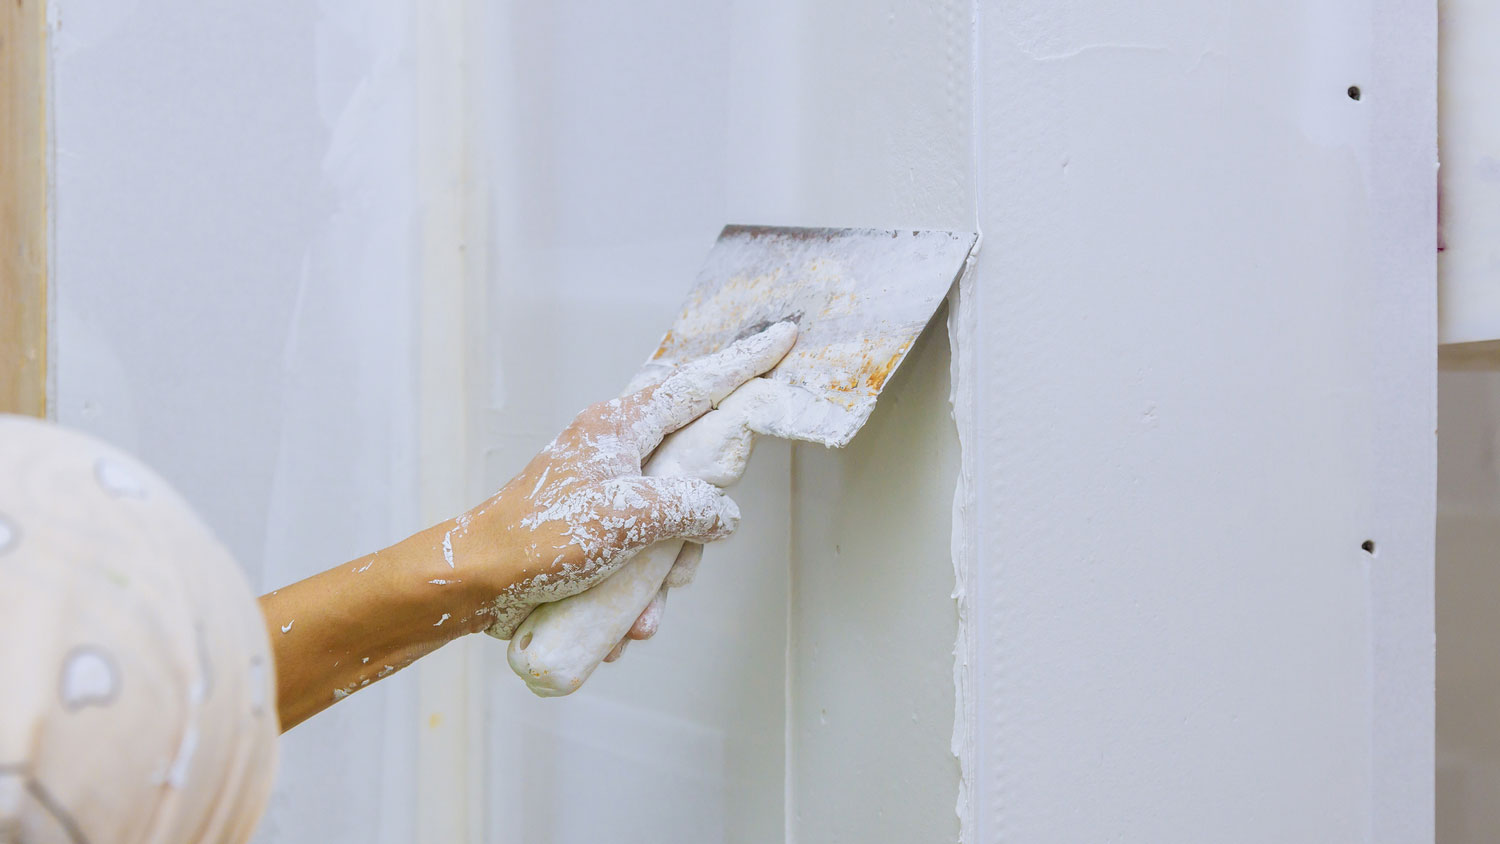
There are two types of sheetrock joints to understand while calculating your layout:
Butt joint
are where a long end meets, or butts up against, another. Avoid this by orienting your boards to always have two pieces meet, or join, with the tapered sides. Taping and mudding butt joints always leaves a bulge requiring artistic skill to hide.
Tapered joints
exist on the long sides of the drywall sheet. The taper starts a couple inches from the edge and thins slightly as it reaches the edge. When placed together, these tapers create a shallow channel for tape and mud without creating a bulge in the wall. Unlike butt joints, it allows fasteners, tape and joint compound to stay flush with the wall.
Lumber yards sell gypsum board in predefined sheet sizes: 4 or 4.5 feet wide and 8, 9, 10, 12 or 16 feet long. Understanding the two widths helps you determine layout.
4-foot width:
For installing vertically. Each side will always line up with a stud for easy installation and no butt joints. Wall studs, according to building code, are always either 16 inches or 24 inches apart, depending on load. This means there is always one every 4 feet.
4.5-foot width:
Install horizontally. Designed for modern, 9-foot-high ceilings. So, a 10-foot-long wall with 9-foot ceilings would need two 4.5×10 foot or longer sheets installed horizontally. That leaves only one seam along the middle.
Thickness: They come in various thicknesses of 3/8 inch, ½ inch and 5/8 inch. However, thickness has nothing to do with coverage area. Thickness comes into play in a few ways:
Thicker pieces provide more sound protection.
However, there is a type of specialized drywall with sound dampening materials built in.
Building code often requires different sizes.
You’ll often use thicker pieces on ceilings for sound and fire resistance.
Thinner sheets require fewer fasteners spaced farther apart.
The type has little to do with how much coverage you’ll need, except for waste. For example, you may end up with slightly more waste if you have a room that needs three walls covered in ½-inch drywall and one with 5/8-inch Firerock drywall.
Fire Resistance:
For garages and to separate floors, building code usually requires 5/8-inch fire resistant type.
Green board:
Another name for moisture resistant varieties used in kitchens, baths, basements and humid environments.
The amount of gypsum board you’ll need for your ceiling depends on the type you have.
Standard flat ceilings.
For flat ceilings, its easiest to measure your floor area.
Sloped and vaulted ceilings. Measure the length and width up to the peak and multiply to find the area. For a vaulted, do the same for the other side and add the two together.
Don’t forget that sloped and vaulted ceilings mean more wall area next to them.
It’s difficult to calculate gypsum board waste because it varies so much from home to home. Waste comes from two main sources:
Cutting out the drywall covering doorways, windows, outlets, switches, and light fixture wiring.
Incorrect measurements and accidentally breaking a sheet.
DIYers are more likely to end up with excess waste than those who hire a nearby drywall installer. Best practice is to add 10% to your overall project if you’re new to drywall for a couple reason:
Incorrect measurements can ruin a sheet.
Before installation, drywall is fragile. Sheet breaks commonly happen and ruin the sheet for use.
If you’re a pro or a DIYer with some experience, you might want to skip adding a percentage for waste as you may end up with unused sheets. The best ways to reduce waste: hire a pro or calculate exactly how many panels you need.
You’ll likely end up with far more than 10% waste but that doesn’t mean you want to purchase 10% more sheets.
DIY drywall installations:
Purchase a couple of extra sheets for breakage. Average drywall prices range from $9 to $11 per sheet. Get it for 25% less when you buy in bulk.
Professionals:
Will only charge for the number of sheets you need. Typical drywall installation costs $1,000 to $2,500. However, depending on the pro, you will typically pay for the drywall that is cut out for fixtures, windows and doors.
0.05 lbs. per 1 square foot.
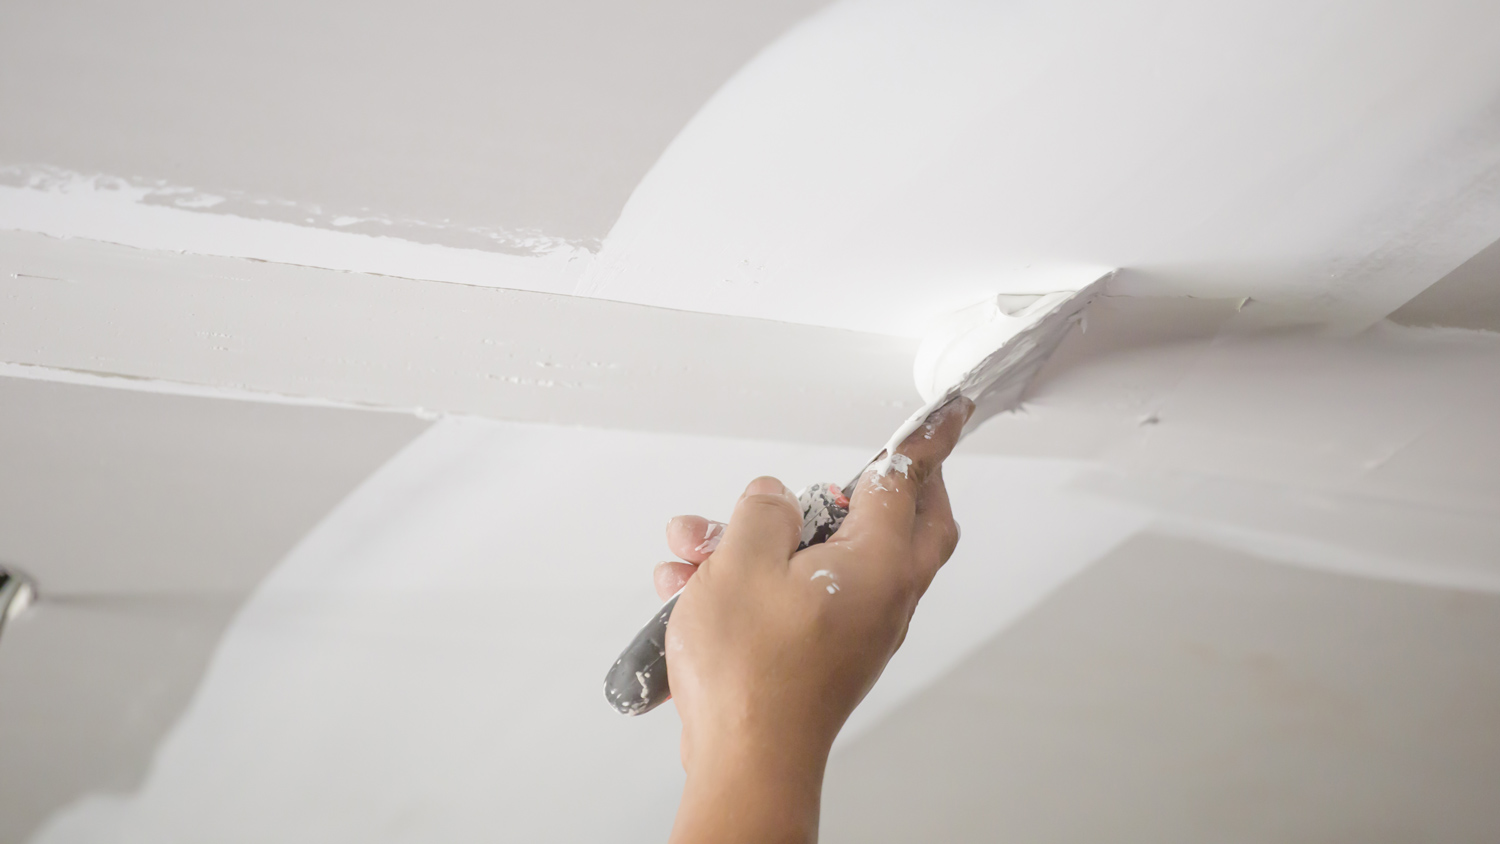
You’ll need 0.05 lbs. of sheetrock joint compound, also called “mud”, for every square foot of your project. However, you’ll get better results using two different kinds:
Taping or all-purpose:
Thick and best used for setting tape.
Light:
Used for the top layers. It’s lighter, goes on thinner and sands off easily for a smoother drywall finish.
You’ll also need 1 extra gallon for every 50 to 150 square feet of texture. The heavier the texturing, the less space 1-gallon covers.
1.5 to 2 lbs. per 4×8 sheet.
You’ll need anywhere from 1.5 to 2 pounds of joint compound per 4×8 sheet. It depends on the sheet size, compound type and how much water was used to thin the compound.
The amount of joint compound you’ll need for texture depends on the type of drywall texture style, including:
Knockdown:
1 gallon per 50 to 75 square feet.
Light textures:
1 gallon per 100 to 150 square feet.
| Room Size | With 9' Ceilings | 4x9 Sheets Needed |
|---|---|---|
| 8'x10' | 404 | 12 |
| 9'x10' | 432 | 12 |
| 10'x10' | 460 | 13 |
| 12'x15' | 486 | 14 |
| 12'x12' | 576 | 16 |
| 10'x15' | 600 | 17 |
| 4.5'x25' (hallway) | 563 | 16 |
The above chart estimates rooms based on modern homes with 9-foot ceilings. Whole home estimates are impossible to determine without knowing the exact dimensions of home’s internal layout.
From average costs to expert advice, get all the answers you need to get your job done.
Use this guide to learn what to expect when it comes to drywall repair costs. Find the cost of fixing holes, cracks, bowing, and water damage in walls.

With unique patterns and textures, a tin ceiling adds drama to any room. Find out how much it costs as you research if this type of ceiling is right for you.

Explore drywall costs based on project size, wall thickness, material quantity required, and labor rates for installation.
Not sure who to call for ceiling repair? Learn who to hire, what each pro handles, and the steps pros take to fix your ceiling.
Who to call for drywall repair? Learn when to hire a drywall contractor or painter, what the repair involves, and average costs.
Wondering who patches drywall after plumbing or electrical work? Learn when to call a drywall contractor, what to ask, and what costs to expect.