Bel Islands Roofing and Siding
Serving Truro, MA and surrounding areas
Angi Approved
In business since 2002
Free estimates
Emergency services offered
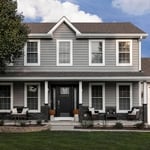
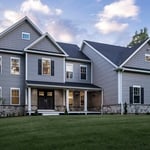
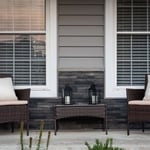
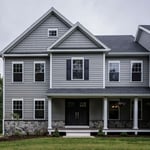
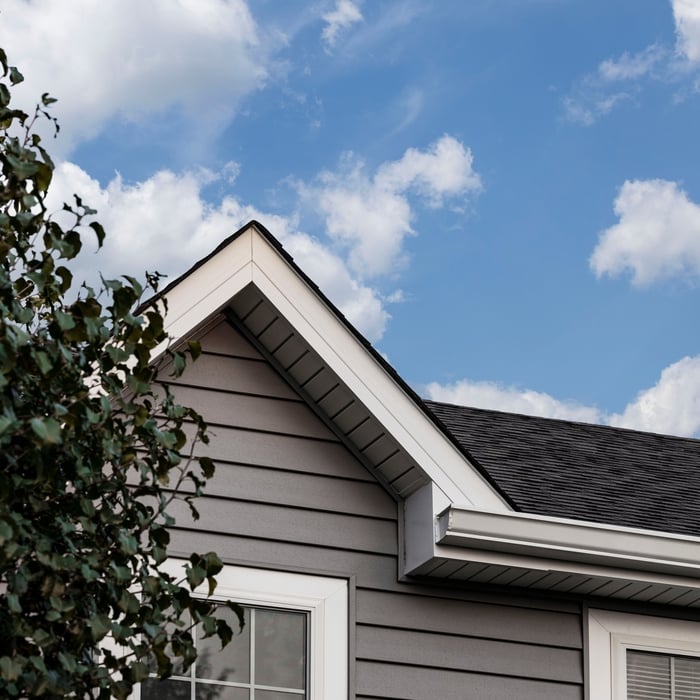
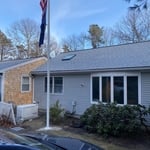
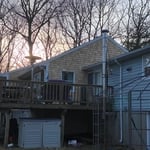
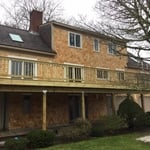
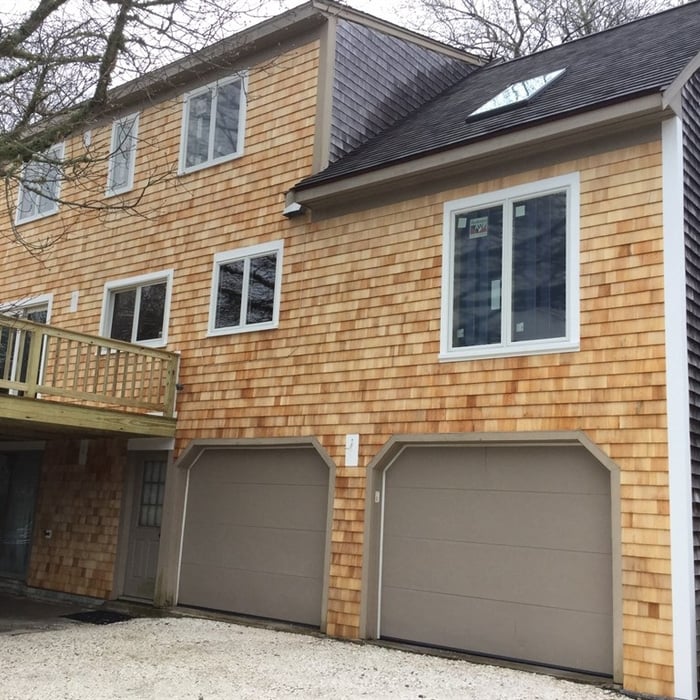
"We give Bel Island Five Stars for our house siding project with Hardy plank siding and Maibac shingles. When Andrei and his crew came to our house, they removed our old painted curling shakes and replaced them with beautiful Cape Cod grey Hardy plank siding on the front of the house, and Maibec shakes on the gables and kitchen entry way, with white Azak trim all around in less than a week. They replaced two windows with Harvey windows as well. The entire crew was respectful and tidy at the end of each day and cleaned up at the end of the job like they were not even there. The best thing was the price. Get three estimates, you will be shocked at Andrei's price. We got 4 prices and the closest to Andrei's was $15,000 more than his quote which he stuck to."

+4
Response time2 days
20 neighbors recently requested a quote
Recommended by100%of homeowners